Geometric tattoos are like the cool kids of the ink world—sharp, precise, and impossible to ignore. They mix math and art in a way that makes us wonder if our high school geometry class was secretly trying to prepare us for this moment. Whether you’re all about perfect circles or love the chaos of overlapping triangles, geometric designs offer something for everyone who likes their tattoos with a side of symmetry.
But before we dive into the world of sacred shapes and mesmerizing patterns, let’s get the basics down. We’ll explore what makes these designs tick and why they’ve become the go-to choice for those who want their ink to be both stylish and a little bit nerdy. Trust us, once you get the hang of these geometric goodies, you’ll never look at a tattoo the same way again.
Materials and Tools Needed for Geometric Tattoos
Getting those flawless lines and crisp shapes demands gear that’s as sharp as the design itself. Here’s what solid geometric tattooing calls for.
Essential Tattoo Equipment
- Tattoo machine: rotary or coil, depending on style preference
- Power supply: consistent voltage ensures steady ink flow
- Foot pedal: hands-free control to keep us in the zone
- Sterile needles: varieties like liners (for crisp edges) and shaders (for filling)
- Disposable gloves: because ink stains don’t make good souvenirs
- Ink caps: tiny containers to hold different ink colors without mixing
- Transfer paper: transfers our geometric blueprint onto the skin perfectly
- Cleaning supplies: green soap and rubbing alcohol for spotless workstations
Recommended Design Software and Drawing Tools
- Adobe Illustrator: vector-based software that nails precise geometry
- Procreate for iPad: tactile drawing with pixel-perfect zoom
- Compass and ruler: old-school tools to plot perfect circles and lines
- Fine-tip pens and mechanical pencils: for sharp sketches before ink meets skin
- Graphic tablets: connect creativity directly to digital grids
Choosing the Right Ink and Needles
- Black and gray inks: the geometric classics for sharp contrast and longevity
- Color inks: for adding flair if clients want to spice their polygons or mandalas
- Needle sizes: use 3-5 round liners for thin lines and 7-9 shaders for filled areas
- High-quality, vegan-friendly ink options: because skin deserves the best (and so do we)
Mastering these tools and materials keeps our geometric tattoos tight and our clients impressed. Perfect lines start with perfect prep—no ifs, buts, or misplaced protractors.
Understanding Geometric Shapes and Patterns
Grasping the core of geometric tattoos means mastering the shapes and patterns that make them pop. We dive into the fundamental elements that bring these tattoos to life.
Basic Geometric Shapes Used in Tattoos
Circles, triangles, squares, polygons, and hexagons dominate geometric tattoo art. Circles symbolize infinity and unity, while triangles represent strength and balance. Squares convey stability and order. Polygons and hexagons add complexity and often reflect nature’s repeating patterns, such as honeycombs.
Common Patterns and Their Meanings
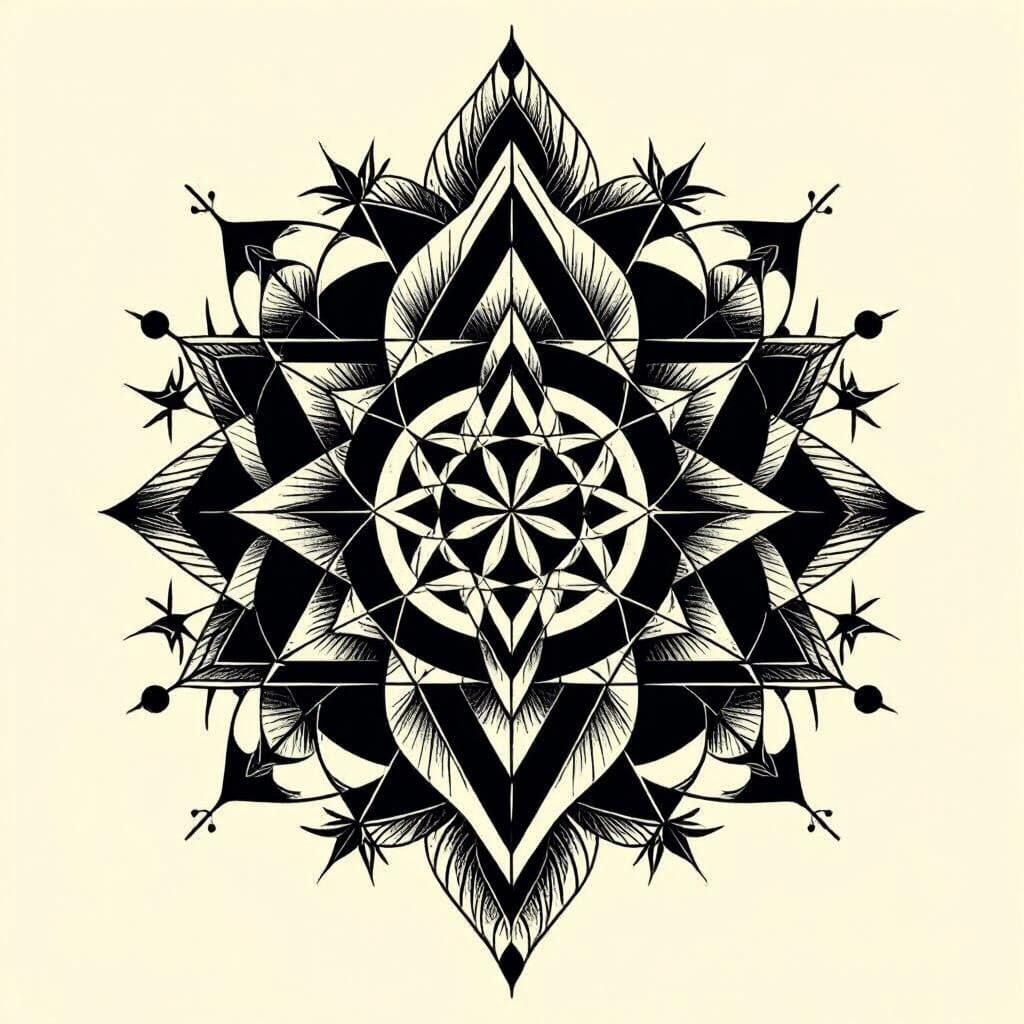
Mandalas, tessellations, and sacred geometry patterns lace our ink with symbolism. Mandalas represent wholeness and meditation. Tessellations show seamless connectivity, popular in optical illusions. Sacred geometry patterns like the Flower of Life express harmony and creation, often found in spiritual contexts.
Combining Shapes for Unique Designs
Overlaying triangles on circles or weaving hexagons with polygons creates distinct visuals. Aligning sharp edges with smooth curves builds tension and flow. Adding symmetry or deliberate asymmetry shapes balance and dynamism. The art lies in mixing basic elements to craft tattoos that stun and intrigue.
Designing Your Geometric Tattoo
Crafting a geometric tattoo requires more than just a sharp needle and steady hand. Strategic planning and precision design turn basic shapes into timeless art that wraps our body flawlessly.
Planning the Tattoo Placement
Start by mapping the tattoo’s location. Areas like forearms, shoulders, and calves offer flat spaces ideal for geometric shapes; curved spots like ankles or ribs challenge symmetry but boost visual intrigue. Evaluate how the design’s lines and angles align with our body’s contours, ensuring the tattoo enhances rather than fights natural muscle flow. Consider visibility too; a bold hexagon sleeve might stun the beach crowd but draw unnecessary attention at the office.
Creating a Balanced and Symmetrical Design
Prioritize symmetry because a misshaped triangle screams rookie mistake louder than a bad pun. Use equal spacing between elements for balance, or embrace deliberate asymmetry to make the design pop—as long as the imbalance hasn’t escaped your control like a rebellious ink drop. Test rotation and reflection of shapes to lock in perfect harmony. Remember that even small imperfections in lines stand out in geometric tattoos like a sore thumb at a finger-counting contest.
Using Grids and Guides for Precision
Deploy grids as the unsung heroes in the tattoo drafting saga. A well-set grid transforms chaos into a predictable pattern, letting us anchor points precisely and maintain uniform distances across the design. Employ vector-based software grids for digital drafts, then replicate those guides during stencil creation to uphold scale and alignment. When freehanding, light pencil marks aligned with a ruler serve as our GPS, guiding every needle prick to its exact destination.
Techniques for Drawing Geometric Tattoos
Mastering geometric tattoo techniques transforms basic shapes into eye-catching ink. Precision blends with creativity through these drawing methods.
Hand-Drawn vs Digital Design Approaches
Hand-drawn designs capture organic imperfections when we crave a personal touch but demand steady hands to avoid shaky lines. Digital design tools like Adobe Illustrator and Procreate empower us with perfect symmetry and adjustable layers, making tweaks painless. Hand-drawing builds raw connection, whereas digital lets us erase our mistakes without existential crises.
Tips for Maintaining Symmetry and Clean Lines
Symmetry stays flawless when we use grids and rulers religiously. Drawing light guide lines first prevents accidental abstract art. Keeping hands steady benefits from short drawing sessions, stretching fingers like a desk yoga champ between strokes. Sharp clean lines spring from high-quality fine-tip pens or digital brushes calibrated for crisp edges. Precision outshines speed, so slow down before your lines moonwalk off the page.
Preparing for the Tattoo Session
Getting ready for a geometric tattoo involves more than picking your favorite shape. We focus on pre-session steps that protect your skin and ensure your vision reaches the artist loud and clear.
Skin Preparation Tips
Start by moisturizing the tattoo area at least three days ahead using a fragrance-free lotion. Avoid sunburn or tanning for one week prior since blazing skin complicates ink absorption. Shave the spot carefully the day before unless the artist prefers to handle it themselves. Drink plenty of water and get a full night’s sleep prior to the session because hydrated skin and rested muscles support better ink retention and endurance. Skip alcohol and aspirin 24 hours before since they thin your blood and invite extra bleeding during tattooing. Dress comfortably with loose clothing around the tattoo site for easy access and less irritation.
Communicating Your Design to the Tattoo Artist
Describe your geometric concept clearly using references like mandalas, hexagons, or tessellations, specifying preferred scale and placement to avoid interpretive surprises. Bring detailed digital files or printed sketches that show line thickness and symmetry because vague ideas translate into fuzzy results. Tell the artist about your pain tolerance level so they can modulate session speed or suggest breaks. Discuss color intensity and ink types if you want to stray from typical black outlines. Confirm session duration and price up front because math isn’t the only pattern we need. Open honest dialogue reduces design misfires and ensures the final piece sings in perfect geometric harmony.
Aftercare for Geometric Tattoos
Protecting precise edges and crisp lines demands focused aftercare. Our sharp designs bear the brunt of the healing process, so care matters.
Immediate Aftercare Steps
Cleanse tattoo gently twice daily using lukewarm water and fragrance-free, mild soap. Pat dry with a soft towel instead of rubbing vigorously. Apply a thin layer of fragrance-free healing ointment or tattoo aftercare balm to prevent dryness but avoid smothering the design. Wear loose clothing over the area to avoid irritation and keep fresh air flowing. Refrain from scratching or picking scabs even if the urge strikes—geometric lines suffer more from scratches than random doodles. Avoid swimming pools, hot tubs, and direct sunlight for at least two weeks to reduce infection risk and prevent fading.
Long-Term Care for Preserving Line Work
Moisturize tattoo regularly with unscented lotion to maintain skin elasticity and prevent cracking along sharp lines. Use broad-spectrum sunscreen with SPF 30 or higher whenever the tattoo faces sun exposure to keep colors vibrant and edges defined. Avoid abrasive skin treatments like chemical peels or laser resurfacing on tattooed areas. Schedule touch-ups within six to twelve months to refresh any fading, especially on areas with frequent movement or sun exposure. Hydrated skin and proper protection prove the best allies in preserving the laser-precise allure of our geometric masterpieces.
Troubleshooting Common Issues in Geometric Tattoos
Geometric tattoos demand sharp precision but sometimes even the best plans meet stubborn skin. We unravel common hiccups and show how to get those clean lines back on track.
Dealing with Ink Bleeding and Blurring
Ink bleeding happens when the pigment spills beyond crisp edges making shapes look more like a Rorschach test. Using thicker ink concentrations during application limits spreading while a tight needle grouping helps control placement. If blurring still appears, applying a light touch allows skin to absorb pigment evenly. Post-session keeping the area dry and cool prevents pigment migration which otherwise promotes bleeding. Remember that oily or highly hydrated skin types invite more ink run, so adjusting aftercare with mattifying powders or light moisturizing restricts excess moisture.
Fixing Asymmetry and Uneven Lines
Asymmetry creeps in when angles or curve thicknesses don’t match causing design imbalance. We re-measure shapes using stencils or digital overlays to pinpoint uneven segments. Redrawing directly over uneven spots with ultra-fine needles corrects line weights while preserving original design integrity. Pausing frequently during the tattoo session to cross-check symmetry from multiple angles helps nip issues early. It’s essential that the client holds still because movement disrupts needle precision resulting in wobbly lines. If unevenness appears only after healing, strategic touch-ups reestablish alignment without crowding the original artwork.
Touch-Up Tips for Geometric Tattoos
Touch-ups revitalize faded or flawed sections restoring geometry’s sharp character. Waiting at least four to six weeks post-healing ensures the skin fully recovers, so the tattoo artist can safely rework pigment depth without scarring. We focus on reinforcing edges using smaller needles and concentrated ink to emphasize contrast. Careful layering avoids oversaturation that blurs details. Using skin-soothing products like vitamin E or aloe post-touch-up accelerates healing and maintains line crispness. Scheduling periodic check-ins prevents minor imperfections from snowballing into design disasters.
Conclusion
Geometric tattoos are like the lovechild of math class and modern art—sharp, precise, and endlessly cool. Whether you’re a fan of perfect symmetry or a little chaos in your lines, there’s a design out there begging to be inked on your skin.
Getting the details right takes some serious skill and patience, but hey, that’s what makes the final piece so satisfying. With a little planning, the right tools, and some TLC afterward, your geometric masterpiece will stay crisp and eye-catching for years.
So let’s keep those shapes sharp and those lines clean—because life’s too short for blurry triangles.
Frequently Asked Questions
What are geometric tattoos?
Geometric tattoos use shapes like circles, triangles, and polygons to create precise, symmetrical designs. They combine art and math, appealing to those who appreciate sharp lines and balanced patterns.
Why are geometric tattoos popular?
They offer a unique mix of style and symbolism, featuring clean lines and meaningful shapes. Their versatility and intellectual appeal attract a wide audience seeking both beauty and significance.
What tools are needed to create geometric tattoos?
Essential tools include tattoo machines, power supplies, sterile needles, inks, and cleaning supplies. Design software like Adobe Illustrator or Procreate is also useful for planning precise patterns.
What shapes are common in geometric tattoos?
Circles, triangles, squares, polygons, and hexagons are frequently used. Each shape has its own symbolic meaning and contributes to creating complex designs like mandalas or sacred geometry.
How should you prepare for a geometric tattoo session?
Moisturize and hydrate your skin, avoid sun exposure, and communicate clearly with your artist about design, colors, and pain tolerance to ensure the best results.
Where are the best locations for geometric tattoos?
Ideal placements include areas with flat or gently curved skin like forearms, shoulders, and thighs. These locations help maintain symmetry and highlight crisp lines.
What’s the difference between hand-drawn and digital design for geometric tattoos?
Hand-drawn designs require steady hands and precision tools, while digital designs allow easier editing and perfect symmetry using grids and software.
How can I care for my geometric tattoo after getting inked?
Clean gently, apply healing ointments, avoid irritation, keep the skin moisturized, protect from sun, and schedule touch-ups to preserve sharp lines and vibrant colors.
What common issues affect geometric tattoos?
Ink bleeding, blurring, asymmetry, and uneven lines can happen due to poor technique or healing problems. Proper tools, skin care, and correction techniques help fix these issues.
How do artists ensure precision in geometric tattoos?
They use measurements, grids, guides, and choose the right needle sizes. Taking breaks to maintain steady hands and focusing on detail rather than speed is crucial.