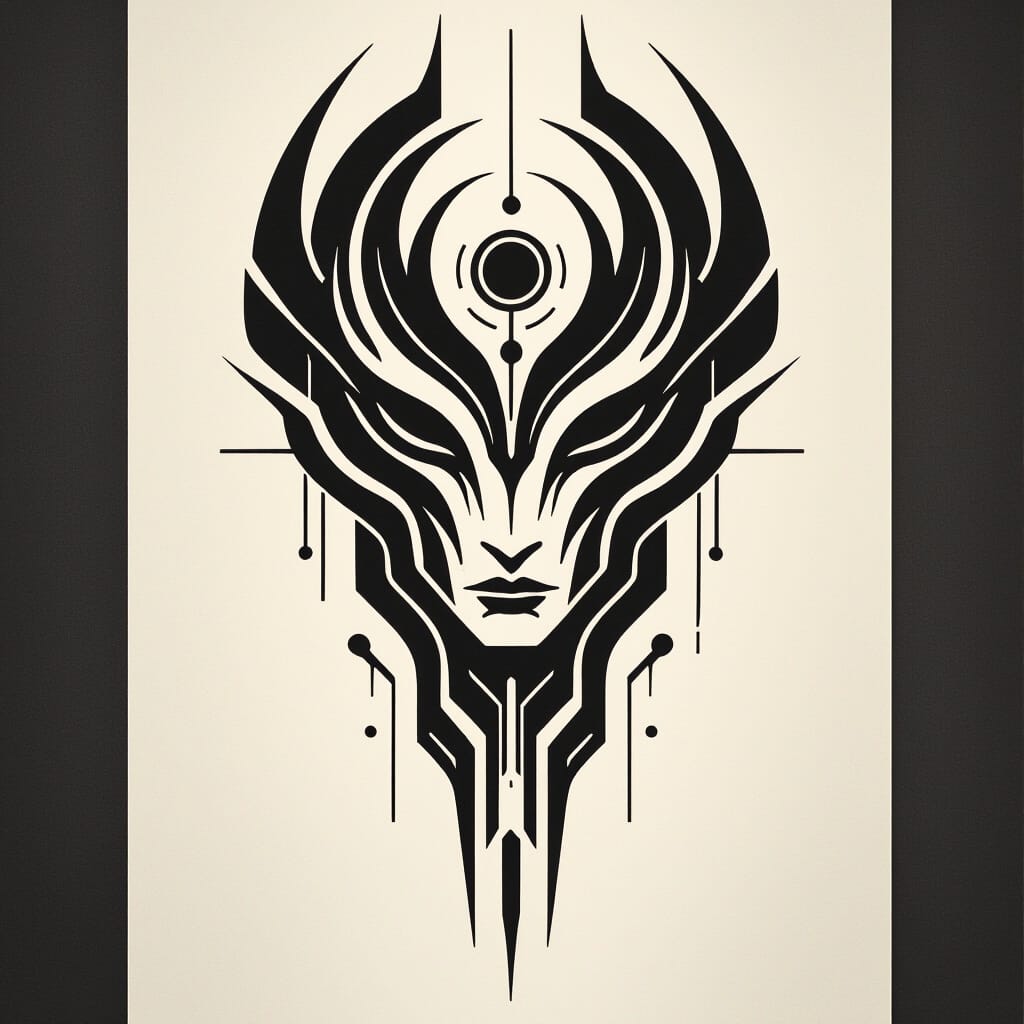
We’ve all seen those tattoos that make you do a double-take, wondering if there’s some sort of robot hiding under someone’s skin. Bio mechanical tattoo design joints are the perfect blend of human and machine, turning limbs into futuristic masterpieces. It’s like your body decided to moonlight as a sci-fi movie set, complete with gears and pistons where you least expect them.
But don’t be fooled – these tattoos aren’t just about looking cool (though they definitely do). They play with the idea of what’s beneath our skin, mixing anatomy with machinery in a way that’s equal parts creepy and captivating. So, if you’re ready to dive into a world where biology meets robotics, buckle up – we’re about to explore the wild world of bio mechanical tattoo joints.
Materials and Tools Needed
Creating bio mechanical tattoo joints demands precision and the right arsenal of gear. Let’s arm ourselves with the essentials to bring those futuristic limbs to life.
Tattoo Machine and Needles
Choose a rotary or coil tattoo machine that provides smooth control to handle intricate mechanical details. Use fine round liners sized between 3 to 7 needles for sharp outlines and 5 to 9 magnums for shading and smooth gradients. Ensure the needles are sterile and disposable because future limbs don’t come with infection risks.
Ink Selection for Bio Mechanical Designs
Pick inks with high pigmentation for bold blacks and vivid metallic shades like steel gray, copper, and chrome. Use white ink sparingly to highlight mechanical joints and reflections. Opt for brands known for consistency and longevity, such as Eternal, Intenze, or Dynamic. After all, we want those robotic veins to stay striking through all lifetimes.
Design Software and Drawing Tools
Utilize graphic programs like Adobe Illustrator or Procreate to draft precise mechanical parts and organic blends. Employ a stylus with pressure sensitivity to mimic natural sketching detail. Complement digital design with traditional supplies like fine-tip pencils and blending stumps to perfect biomechanical joints before the needle hits skin. Because even cyborgs appreciate a good sketch session.
Understanding Joint Anatomy for Bio Mechanical Tattoos
Grasping joint anatomy sharpens our bio mechanical tattoo designs so they fit the body’s natural moves and grooves.
Basic Human Joint Structures
Hinge joints, like elbows and knees, bend one way only. Ball-and-socket joints, such as shoulders and hips, spin freely in several directions. Pivot joints let bones twist around each other, seen in neck vertebrae. Gliding joints slide smoothly between flat bones, found in wrists and ankles. Recognizing these five joint types helps us mirror movement in our designs without looking like a rusty robot doing the robot dance.
Mechanical Joint Concepts and Elements
Hinges allow one-directional bending in machines, similar to our elbows. Ball-and-socket joints use spherical parts to rotate like a shoulder joint. Pistons push and pull in a linear motion, perfect for flexing limbs mechanically. Rotational gears spin to transmit motion, giving our tattoos a futuristic twist. Springs absorb shock and allow flexibility, making the joint look alive and not like stiff metal. Using these elements helps us imagine convincing mechanical counterparts to human joints.
Combining Organic and Mechanical Features
Seamlessly blending smooth skin curves with textured gears creates shocking yet believable effects. Designing mechanical components that align with muscle routes enhances motion fluency. Integrating hydraulic piston shapes under tendons suggests power surges beneath the surface. Balancing shiny chrome plates with matte flesh mimics a flawless cyborg limb. The key lies in ensuring mechanical parts flex like real joints, avoiding awkward stiffness or weird clicks—unless we want our tattoos to sound robotic too.
Designing Bio Mechanical Tattoo Joints
Crafting bio mechanical tattoo joints demands precision and flair. Each step solidifies the illusion of a living machine beneath the skin.
Sketching the Joint Framework
Begin every masterpiece by sketching the joint framework with clear and clean lines. Outline human joint shapes like hinges or ball-and-socket joints first before overlaying mechanical aspects. Use reference images or anatomy books to perfect proportions, ensuring tattoos bend naturally instead of looking like rusty robot parts. Draft multiple sketches if necessary until the mechanical joint flows seamlessly within the biological structure.
Incorporating Mechanical Components
Focus on adding mechanical components such as pistons, gears, screws, and plates precisely. Arrange these components logically along natural lines of movement to maintain realistic articulation. Use symmetrical and interconnected parts to mimic joint mechanics clearly visible in industrial diagrams. Avoid cluttering; select two or three key components like gearsets or hydraulic pistons to emphasize joint functionality without overwhelming the design.
Adding Organic Elements for Realism
Blend organic elements like sinews, tendons, and muscle fibers around mechanical parts skillfully. Illustrate ripped skin or torn muscle to peek beneath, suggesting a biomechanical integration beneath the flesh. Incorporate subtle textures such as skin pores or hair follicles to anchor machinery to biology convincingly. Combine smooth and rugged surfaces to highlight contrast and make the tattoo feel alive, avoiding the “cold robot” look.
Color and Shading Techniques for Depth
Apply color sparingly to emphasize mechanical materials such as metallic silvers, rusty browns, or oil-stained blacks. Use gradients and shading precisely to sculpt three-dimensionality around the joint’s curves. Highlight edges for reflective metal shine and deepen shadows to create powerful contrast, simulating light angling off layered parts. Combine matte and glossy effects in ink layering to enhance tactile illusions—no flat futuristic Frankenstein joints allowed here.
Placement and Sizing of Bio Mechanical Tattoo Joints
Placing and sizing bio mechanical tattoo joints requires a strategic approach. We integrate anatomy and mechanics to keep joints looking and moving naturally.
Choosing the Right Body Part
Selecting limbs like elbows, knees, wrists, or fingers provides natural joint landmarks. We target areas with visible bending to highlight mechanical hinges, pistons, or gears. Avoid flat or irregular spots such as the back or calf where joints don’t naturally flex. These spots risk turning our masterpiece into a chunky paperweight.
Considering Joint Movement and Flexibility
Aligning tattoos with actual joint bends lets mechanical parts mimic real motion. We design pistons that compress when elbows fold and gears that rotate at wrists. Overly stiff designs freeze joints or crack ink when skin folds. If we ignore flexibility now, we face clients regretting a robotic straightjacket.
Scaling the Design Proportionally
Scaling depends on joint size and surrounding muscles or bones. We keep mechanical components in scale—too small pistons get lost, too large gears look like alien machinery took over. For larger joints like knees, design parts roughly 30%-50% larger than wrist designs, considering surface area and curvature.
| Joint Type | Design Scale (% Relative to Wrist) |
|---|---|
| Fingers | 50-70 |
| Wrists | 100 |
| Elbows | 130-150 |
| Knees | 150-200 |
Precise scaling guarantees our tattoos move, breathe, and maybe even hum (if they had batteries).
Tattooing Process for Bio Mechanical Joints
Executing bio mechanical joint tattoos involves a blend of precision and artistry. Each step targets achieving that perfect clash of flesh and machine, ensuring our clients don’t just wear art but live it.
Preparing the Skin and Work Area
Sterilizing the skin and workspace ranks supreme. We shave the area, scrub it with antiseptic, and cover surrounding skin with barriers preventing wandering ink or rogue bacteria. We also ensure our tattoo guns and needles stay cleaner than a robot’s motherboard free of dust. This step guarantees crisp lines and reduces the chances of infection while paving the way for ink to settle perfectly.
Transferring the Design to Skin
We apply the stencil precisely over the joint, making sure it matches natural creases and folds so the mechanical illusion moves with the limb. If the stencil wiggles or fades, the illusion crashes like a bad circuit. Using transfer paper saturated with stencil solution, this blueprint anchors the bio mechanical design, guiding our ink placement laser-sharp.
Layering Ink for 3D Effect
We ink in layers starting with bold blacks defining shadows and mechanical contours. Then we wash in grays and metallic tones, creating gradients that boost depth like pistons pumping beneath the skin. Highlights land last, placed meticulously to simulate light hitting metal bolts and flexible joints. Our shading mimics real-world reflections so well that passerby might mistake the wearer for Cyborg’s long-lost cousin.
Aftercare Tips to Preserve Detail
We tell clients to keep the tattoo dry and out of direct sun for at least two weeks to prevent fading and swelling. Applying a thin layer of fragrance-free ointment thrice daily seals the ink like a fresh coat of robotic enamel. Scratching and peeling become enemy number one because they rip apart all our hard-won shading and highlights. Following these rules ensures the tattoo stays as sharp as a freshly oiled cog for years.
Tips and Best Practices
Perfecting bio mechanical tattoo joints demands sharp focus and clever techniques. Let’s break down key methods to elevate our designs from good to jaw-dropping.
Achieving Realistic Mechanical Textures
Mastering mechanical textures means blending clean lines with detailed shading. Start by layering multiple shades of gray and metallic tones, adding tiny scratches and bolts for authentic wear and tear effects. Use stippling for subtle rust or grime, but avoid overdoing it so the design doesn’t turn into a rusty robot relic. Reflective highlights near edges create that slick metal gleam, making joints appear freshly oiled and operational.
Balancing Complexity and Clarity
Too much gear and piston puzzle pieces jammed into one tattoo confuse the eye. Prioritize main mechanical components like hinges or springs, simplify smaller parts, and keep overall shapes bold and readable. Space out intricate details logically along joint lines. Our goal: designs that scream cyborg without sounding like a tech manual written by a mad scientist.
Working With Client Body Movement
Tattoo joints that freeze like a robot? No thanks. We map out natural joint movements and place mechanical parts where skin folds and muscles flex. Use flexible-looking components such as segmented plates and sliding pistons to mimic real motion. Test designs by bending and stretching on paper or digital mockups before the needle arrives. Movement-friendly designs make the wearer feel like a suave, futuristic action hero—not a robot stuck in slow motion.
Common Issues and Troubleshooting
Bio mechanical tattoo joints come with their share of quirks. Spotting and solving these problems quickly keeps tattoos looking sleek and not like a glitchy robot in a sci-fi flick.
Fixing Design Distortion Due to Joint Movement
Designs warp dramatically when joints like elbows or knees flex repeatedly. We combat distortion by aligning mechanical components with natural crease lines. Draw mechanical hinges or pistons parallel to joint folds to maintain shape during movement. Using flexible shading areas around critical parts softens transitions and prevents abrupt warping. Testing the design on a bending model or ourselves before tattooing catches trouble spots early to avoid walking cyborg mishaps.
Handling Ink Bleeding and Fading
Ink bleeding turns crisp gears and pistons into muddy blobs fast. We choose high-quality inks rich in pigment that bond firmly with skin layers. Fine lines get tattooed with single needle passes rather than aggressive layering to minimize spreading. Fading occurs primarily on joints exposed to sun and friction. Advising regular moisturizing and UV protection ensures long-lasting metallic shine and jet-black contrasts that don’t ghost away like a shy android.
Correcting Design Imbalances
Unbalanced designs throw off the whole mechanical vibe by looking heavy or light on one side. We avoid this by mapping tattoo elements symmetrically across the joint zone or creating deliberate counterweights using matching cables or screws. Sketching drafts on tracing paper and flipping them helps visualize symmetry before permanent inking. If imbalance surfaces post-tattoo we incorporate smaller filler elements — like tiny springs or wires — to equalize the composition and keep the cyborg swagger alive.
Alternative Methods and Styles
Exploring alternative methods and styles enriches our bio mechanical tattoo joints collection by offering fresh ways to blend flesh and machine. We unlock new creative paths and tailor designs to client personalities.
3D Bio Mechanical Joint Tattoos
Employing 3D techniques transforms flat tattoo surfaces into optical illusions that pop off the skin. We harness deep shadows, sharp highlights, and layered textures to simulate real mechanical parts embedded beneath the epidermis. Working with contrasting dark inks against metallic grays produces the depth necessary to fool the eye. For instance, pistons and gears appear to shift and slide when the joint bends, creating a dynamic synergy between anatomy and machinery. Precision in light placement becomes our secret weapon for illusions that bewilder and impress.
Abstract vs. Realistic Approaches
Adopting an abstract style lets us break free from strict anatomical replication. We exaggerate shapes, distort mechanical elements, and emphasize form over function to generate futuristic, artistic expressions. Conversely, realistic designs focus on mimicking genuine joint mechanics, replicating textures like rusted metal or worn leather with photographic accuracy. When clients desire a sci-fi cyborg vibe we lean toward realism; when they prefer standout body art we embrace abstract geometry and asymmetry. For example, abstract tattoos may feature swirling cables and irregular plating while realistic pieces highlight bolts, hinges, and pistons aligned precisely with joint contours.
Use of Color vs. Black and Gray
Choosing between vibrant color and monochrome palettes affects tone and visual impact profoundly. Color introduces life and energy; electric blues, fiery reds, and glowing greens simulate futuristic displays, power cores, or heated metal. Black and gray schemes lend a timeless industrial feel emphasizing shadows and structure without distraction. We match color choices to client skin tones and design goals—for example, bold reds and oranges echo engine heat around elbow joints while grayscale suits subtle wrist and finger designs. Balancing metallic sheens with muted hues enhances every bio mechanical joint’s otherworldly allure.
Conclusion
Diving into the world of bio mechanical tattoo joints is like giving your limbs a sci-fi upgrade without the need for a robot suit. It’s all about blending the organic with the mechanical in a way that’s as smooth as your favorite action hero’s moves—minus the awkward stiffness.
Whether you’re an artist or a future cyborg enthusiast, nailing these designs takes precision, creativity, and a bit of mad scientist flair. So go ahead, embrace the gears, pistons, and sinews—because who said your joints can’t look like they belong in a blockbuster?
Frequently Asked Questions
What are bio mechanical tattoos?
Bio mechanical tattoos combine human anatomy with mechanical elements, creating designs that mimic futuristic, cyborg-like limbs. They blend organic features like muscles and joints with mechanical parts such as gears and pistons for a striking visual effect.
What tools are needed for creating bio mechanical tattoos?
Key tools include rotary or coil tattoo machines, sterile needles, high-pigmentation inks (black and metallic shades), and graphic design software like Adobe Illustrator or Procreate for drafting the tattoo design.
How does understanding joint anatomy help in bio mechanical tattoo designs?
Knowing joint types—hinge, ball-and-socket, pivot, gliding—enables artists to align mechanical elements with the body’s natural movement, making tattoos appear dynamic and lifelike instead of stiff or unnatural.
Which body parts are best for bio mechanical tattoo placements?
Ideal placements are flexible joints such as elbows, knees, wrists, or fingers because these areas enhance the illusion of mechanical motion and interaction with natural body movements.
How is the tattoo design process approached for bio mechanical joints?
Artists first sketch the joint structure, overlay mechanical components logically along natural movement lines, blend organic details like sinews, then add shading and highlights to create depth and realism.
What aftercare tips help preserve bio mechanical tattoos?
Keep the tattoo clean and moisturized, protect it from direct sunlight, avoid picking or scratching, and follow your artist’s instructions to maintain vibrant colors and sharp details over time.
How do artists ensure mechanical parts mimic natural motion?
By aligning tattoo designs with natural joint creases and testing movement through bending and stretching during design, artists create flexible tattoos that move realistically with the body.
What common issues arise with bio mechanical tattoos and how are they fixed?
Design distortion from joint movement, ink bleeding, and fading are common issues. Solutions include aligning designs with crease lines, using high-quality inks, precise tattooing techniques, and balancing design elements for symmetry.
Can bio mechanical tattoos be done in color?
Yes, they can use vibrant colors or monochrome palettes. Color adds energy and vibrancy, while black and gray shades create a timeless, classic look.
What are some alternative styles for bio mechanical tattoos?
Alternatives include 3D techniques for depth illusions, abstract or realistic styles, and blending bold colors with anatomically accurate designs to customize the tattoo’s overall appearance and impact.