Tattoos have always been a way to express ourselves, but sometimes size really does matter—especially when it comes to micro realism tattoos. These tiny masterpieces pack a punch with jaw-dropping detail that’ll have people squinting to believe it’s real. Who knew something so small could steal the spotlight?
Materials and Tools Needed for Micro Realism Tattoos
Micro realism tattoos demand precision and quality gear. Gathering the right materials sets the stage for those tiny masterpieces.
Essential Tattoo Equipment
We rely on:
- Rotary tattoo machines for smooth, consistent lines
- Power supplies with adjustable voltage for fine control
- Sterile tattoo grips and tubes sized for detailed work
- Disposable gloves to keep it clean and germ-free
- Tattoo transfer paper that captures intricate stencil details perfectly
No skimping here; every tool contributes to crisp micro designs.
Suitable Ink Types for Micro Realism
We choose inks with these traits:
- High pigmentation to ensure vivid tiny details stand out
- Smooth consistency for precise ink flow
- Biocompatible ingredients approved by the FDA or local health authorities
For example, black and grey shaded inks with rich saturation bring micro realism to life without bleeding or fading quickly.
Choosing the Right Needle Configuration
We pick needles that match our detail demands:
- Single round liners (1RL) for the finest outlines and pinpoint dots
- Tight round liners (3RL to 5RL) for shading tiny areas with subtle gradients
- Magnums with compact stacks only if larger micro shading is needed but at minimal size
Using the smallest effective needle grouping keeps lines sharp and prevents ink spreading—crucial in micro realism.
Preparing for a Micro Realism Tattoo
Getting our micro realism tattoo ready calls for some thoughtful choices and prep work. Each decision crafts that tiny masterpiece into a sharp statement on our skin.
Selecting the Perfect Design
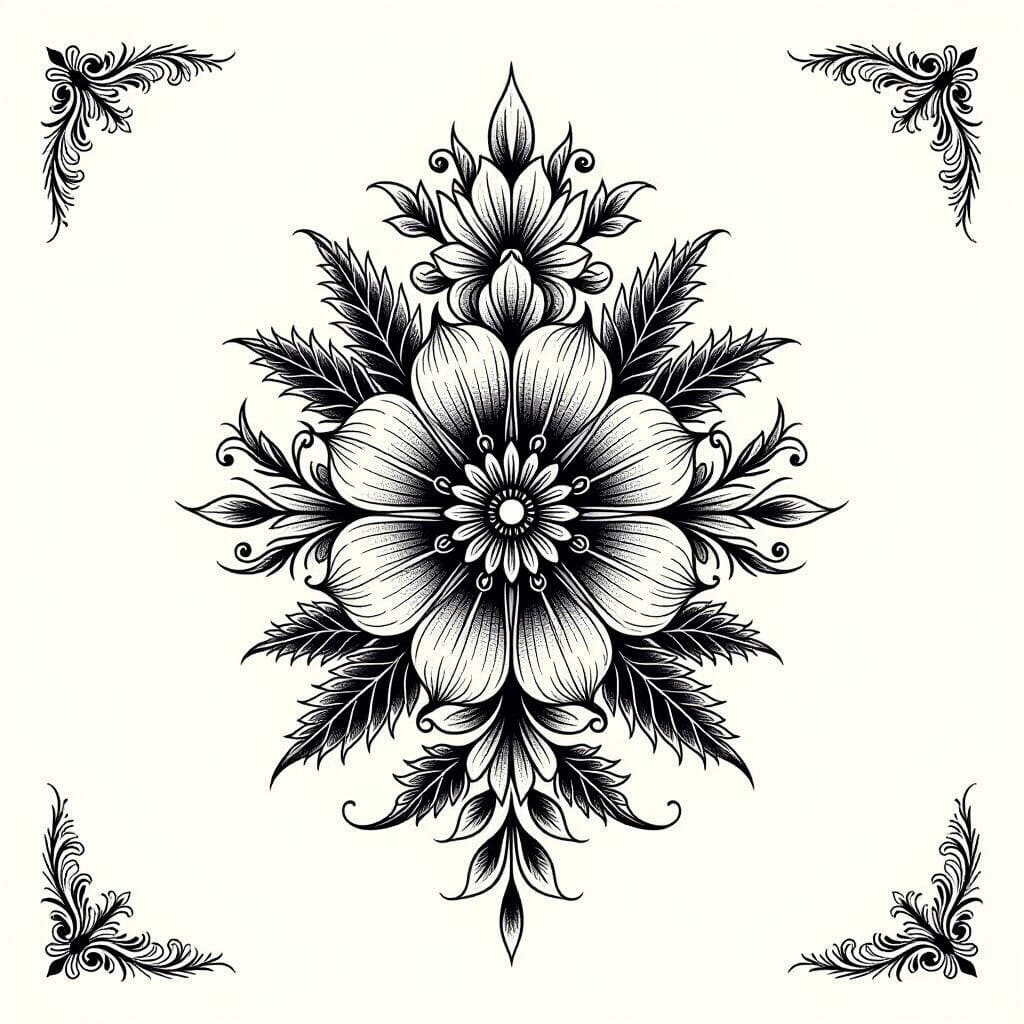
We pick designs that shine in miniature. Detailed portraits, tiny animals, or intricate botanical art work best because every line counts. Avoid cluttered motifs that blur when shrunk. We focus on simple yet striking visuals to keep crispness. Consulting with an experienced artist guarantees the design suits the micro scale without losing impact.
Considering Placement and Size
We consider spots where skin stays steady and flat, such as the forearm, shoulder blade, or side of the neck. Areas prone to stretching or movement like elbows or knuckles complicate crisp details. We choose sizes between 1 to 3 inches since micro tattoos smaller than 1 inch risk looking like smudges over time. For precision, we match design complexity with placement to maintain clarity.
Skin Preparation Tips
We cleanse the skin thoroughly using a gentle antibacterial soap to avoid irritation. Exfoliation 24 hours before brightens the surface for better ink adhesion. We avoid sunburns or tanning since damaged skin compromises healing and vibrancy. Hydrating the skin daily leading up to the session helps keep it supple and ready for detailed needlework. Finally, we skip alcohol or blood thinners 24 hours prior to minimize bleeding and swelling.
Step-by-Step Guide to Creating Micro Realism Tattoos
Creating micro realism tattoos demands precision patience and sharp eyes. We break down the process into manageable steps for those tiny masterpieces.
Designing the Tattoo with Fine Detail
Start by crafting or selecting artwork with intricate lines clear contrast and minimal clutter. Opt for subjects like mini portraits detailed flora or small animals that hold up when shrunk under 3 inches. Use high-resolution tools and fine digital brushes for exact detail. Keep backgrounds simple to avoid muddy visuals. Remember every pixel counts when you’re working in micro scale.
Transferring the Design onto the Skin
Use a high-quality stencil transfer paper to replicate the tattoo design flawlessly. Apply a thin layer of stencil solution evenly on the prepared skin to ensure crisp transfer and reduce smudging. Position the stencil on flat steady areas like the forearm or shoulder blade for stability. Press firmly hold the paper in place for at least 10 seconds then peel carefully. Verify the stencil’s sharpness under good light before starting the ink dance.
Tattooing Techniques for Precision and Depth
Choose a fine liner needle configuration—single or three round liners serve best for sharp contours. Start with slow machine speed and firm but gentle pressure to avoid skin trauma. Use short controlled strokes to outline first and then build depth slowly. Work from light to dark to layer shadows and forms. Keep the skin taut with the non-dominant hand for consistent needle penetration. Drink water and breathe; micro realism demands zen focus.
Shading and Highlighting in Micro Realism
Deploy smooth gradual shading with soft magnum needles or tight shaders for tiny gradients. Use diluted inks for lighter effects and solid pigments for darker spots to simulate real-life texture and depth. Add pinpoint white ink highlights selectively to create pops of realism, especially in eyes or dew drops. Avoid over-shading as detail loss happens faster on small canvases; less ink equals crisper designs. Keep cleaning the area to prevent ink buildup and blur.
Micro realism tattooing thrives on patience steady hands and impeccable technique. Master these steps to transform minuscule ideas into jaw-dropping wearable art.
Popular Micro Realism Tattoo Design Ideas
Micro realism tattoos pack a punch despite their tiny size. Here are design ideas that prove good things truly come in small packages.
Nature-Inspired Micro Tattoos
Choose miniature florals like roses, lavender, or cherry blossoms that maintain sharp detail. Use crisp lines for leaves and delicate shading for petals. Tiny trees or mountain ranges work well on flat areas, offering serene landscapes that fit into a 1- to 2-inch frame. Drop in fine dew drops or subtle bark texture to elevate the subtlety.
Portrait Micro Realism Tattoos
Capture famous faces or loved ones with ultra-precise lines and shading. Focus on eyes, lips, and hair strands for emotional impact. Small-scale grayscale portraits demand extreme attention to contrast and edge sharpness to avoid accidental blobs. Think of them as micro-masterpieces that fit discreetly on wrists or behind ears.
Micro Realism Animals and Insects
Tiny fauna like hummingbirds, ladybugs, or foxes display vibrant color blends and texture in feathers or fur. Utilize fine needles for whiskers, antennae, or delicate wings. Animal eyes must gleam realistically even at miniature scale, creating a lifelike charm that surprises onlookers when noticed.
Symbols and Objects in Micro Realism Style
Choose everyday objects—tiny keys, clocks, or vintage cameras—with intricate detail on dials, gears, and hinges. Symbols such as miniature anchors, feathers, or compasses maintain bold outlines and subtle shading for dimension. These tattoos make compact statements that hover between minimalism and grandeur in micro form.
Aftercare for Micro Realism Tattoos
Taking care of micro realism tattoos right after getting inked keeps those tiny masterpieces sharp and vibrant. Our skin’s reaction to fresh ink demands precise attention; less fuss equals more wow.
Immediate Post-Tattoo Care Instructions
Cleanse the tattoo gently using lukewarm water and mild, fragrance-free soap every 4 to 6 hours for the first 24 hours. Pat dry softly with a clean paper towel instead of rubbing, because the skin likes gentle friends. Apply a thin layer of a recommended tattoo ointment like Aquaphor or a tattoo-specific balm 2 to 3 times daily for up to 3 days; too much ointment drowns the skin and slows healing. Avoid soaking, swimming pools, hot tubs, or direct showers hitting the tattoo squarely during this period since moisture overload invites bacteria. Wear loose breathable clothing around the tattoo location to reduce friction and irritation, especially for designs between 1 to 3 inches that demand delicate protection.
Long-Term Maintenance Tips to Preserve Detail
Hydrate daily using a scent-free moisturizer to prevent dryness, which causes micro lines to blur faster. Use broad-spectrum sunscreen with SPF 30 or above indefinitely when exposed to sunlight because UV rays fade delicate ink faster than you can say “micro realism.” Avoid abrasive exfoliants or scrubbing pads on the tattoo area since they wear away fine lines and shading. Schedule touch-ups every 1 to 3 years based on tattoo placement and exposure; arms, hands, and feet need more frequent attention. Refrain from prolonged tanning sessions or harsh chemical skin treatments like peels around your prized micro art—keep your tiny tattoo as crisp as the day it was inked.
Troubleshooting Common Issues in Micro Realism Tattoos
Micro realism tattoos offer stunning detail in a tiny package but present unique challenges. Tackling these issues quickly prevents regrets and keeps our art looking sharp.
Blurring and Loss of Detail
Blurring spoils micro tattoos faster than a sneeze in a bead shop. Using needles too large or packing too much ink clogs fine lines, making details melt together. Choosing the right needle groupings, such as single or three liners, keeps the crisp edges intact. Applying excessive pressure or rushing the session spreads ink beyond intended lines, causing smudging. Selecting stable, flat skin areas like forearms or calves minimizes distortion from movement, preserving detail sharpness.
Fading and Color Preservation
Fading turns vibrant micro tattoos into ghostly outlines faster than expected. Skipping daily sunscreen application on tattooed skin invites UV rays to bleach the ink. Using high-quality pigments with strong lightfast properties extends color life even under sunlight. Avoiding harsh exfoliants and abrasive treatments helps maintain ink saturation. Scheduling touch-ups within 1 to 2 years after the initial tattoo refreshes detail and color before noticeable degradation sets in.
Handling Skin Sensitivity and Irritation
Skin sensitivity flips the fun switch off with redness, itching, and swelling. Performing patch tests on sensitive skin before tattooing reduces allergic surprises. Keeping the tattoo clean and moisturized with fragrance-free ointments calms irritation early. Advising clients to avoid alcohol and blood thinners before sessions limits swelling and excessive bleeding. Recommending loose clothing and no scratching during healing prevents aggravation and scabbing that jeopardize micro detail.
Tips and Tricks for Best Results
Mastering micro realism tattoos takes more than just a steady hand. Following specific tips helps us turn tiny masterpieces into unforgettable works of art.
Choosing an Experienced Tattoo Artist
Picking an artist who specializes in micro realism guarantees crisp details and clean lines. We want precision here; otherwise, the tattoo looks like a blurry mess. An experienced pro knows needle sizes inside out and handles shading like a boss. Ask to see portfolios packed with miniature marvels before booking—if their tiny tattoos look like smudges, run like you’re avoiding a bad Tinder date.
Using Stencils for Accuracy
Stencils save us from freehand disasters by transferring exact designs onto the skin. We trace and tattoo over the crisp outlines, keeping every dot and line in check. High-quality stencil paper ensures the design doesn’t fade mid-session or turn into abstract art. We never wing this part; precision starts with a flawless stencil.
Incorporating Personal Meaning into Designs
Micro realism tattoos pack huge emotional punch despite their size. We choose symbols, portraits, or objects that shout our stories quietly but clearly. Tiny meaningful tattoos become conversation starters and personal badges all in one. Adding a dose of personal significance guarantees our ink isn’t just pretty—it’s unforgettable too.
Conclusion
Micro realism tattoos prove that good things really do come in tiny packages. They pack a punch with detail and meaning, all without taking up half your arm.
Whether you’re after a mini masterpiece or just want a subtle nod to your favorite things, these designs show that size doesn’t matter—precision does. So, let’s embrace the small but mighty world of micro realism and maybe even add a little inked magic to those overlooked spots.
After all, who said tattoos have to be loud to be unforgettable?
Frequently Asked Questions
What is micro realism in tattoos?
Micro realism is a tattoo style featuring small, highly detailed designs that create lifelike, realistic images despite their miniature size.
What tools are essential for creating micro realism tattoos?
Key tools include rotary tattoo machines, adjustable power supplies, sterile grips, high-quality pigmented inks, and precise needle configurations for fine lines and shading.
Which designs work best for micro realism tattoos?
Intricate, uncluttered designs like detailed portraits, botanical art, small animals, and simple everyday objects work best to maintain clarity at a small scale.
Where on the body are micro realism tattoos best placed?
Flat and steady areas such as the forearms, upper back, or chest are ideal, with sizes ranging from 1 to 3 inches for optimal detail retention.
How should the skin be prepared before a micro realism tattoo?
The skin should be cleansed, exfoliated, and well-hydrated while avoiding sunburn, alcohol, and blood thinners before the session to ensure the best results.
What are the key steps in the micro realism tattooing process?
Steps include designing with intricate lines, transferring the stencil carefully, using precise needle strokes and gradual shading, and maintaining patience and steady hands throughout.
How can I care for a micro realism tattoo after getting inked?
Immediately cleanse gently, apply a thin layer of ointment, avoid excess moisture, hydrate daily, use sunscreen to prevent fading, and schedule touch-ups as needed.
What common problems can occur with micro realism tattoos?
Issues include blurring from improper needle use, fading without sunscreen and quality ink, and skin sensitivity which can be minimized by patch tests and proper aftercare.
How do I ensure the best results with a micro realism tattoo?
Choose an experienced artist specializing in micro realism, use stencils for accuracy, and select meaningful designs to enhance personal significance and visual impact.