Getting a tattoo is like making a lifelong commitment to a tiny piece of art on your body. But before that needle buzzes to life, there’s an entire journey from a simple sketch to the masterpiece on your skin. We’ve all seen those wild designs that make us wonder, “How did that even happen?” Well, it’s not magic—it’s a creative process that’s part art, part science, and a little bit of nerve-wracking excitement.
Materials and Tools Needed for Tattoo Design
Getting that perfect tattoo starts with gathering the right materials and tools. We dive into these essentials to move art from paper to skin smoothly.
Sketching Materials
Pencils, graphite sticks, and fine-tip pens serve as our trusty sidekicks for initial designs. Charcoal adds depth for bold shadows while erasers clear the stage for flawless lines. Tracing paper duplicates sketches without the fear of ruining originals. Colored pencils introduce a splash of life when previewing ink hues.
Tattooing Tools and Equipment
Tattoo machines—lined up in coils or rotaries—inject pigment precisely where it counts. Needles come in various configurations like liners for crisp outlines and shaders for filling expanses. Ink bottles host vibrant palettes needing no translation. Power supplies deliver steady juice keeping machines humming without hiccups.
Safety and Sanitation Supplies
Gloves shield both artist and canvas from unwanted contamination. Medical-grade disinfectants and sprays keep workstations spotless as a desert mirage. Single-use needles and ink caps erase risk by avoiding reuse. Barrier films wrap equipment preventing cross-contamination like superhero cloaks for cleanliness.
Conceptualizing Your Tattoo Design
Before the needle meets skin, we craft a strong foundation by shaping the tattoo concept. This step transforms vague ideas into solid plans that guide the entire process.
Finding Inspiration and Ideas
Start with passions, memories, or favorite symbols. Museums, nature, and even that weird dream from last Tuesday prove rich sources. Sketch multiple rough ideas, because variety breeds brilliance. Collect images, patterns, or phrases that resonate deeply. Browse tattoo portfolios to spot styles that spark excitement but avoid copying wholesale. Embrace the unique mix that defines your story and personality.
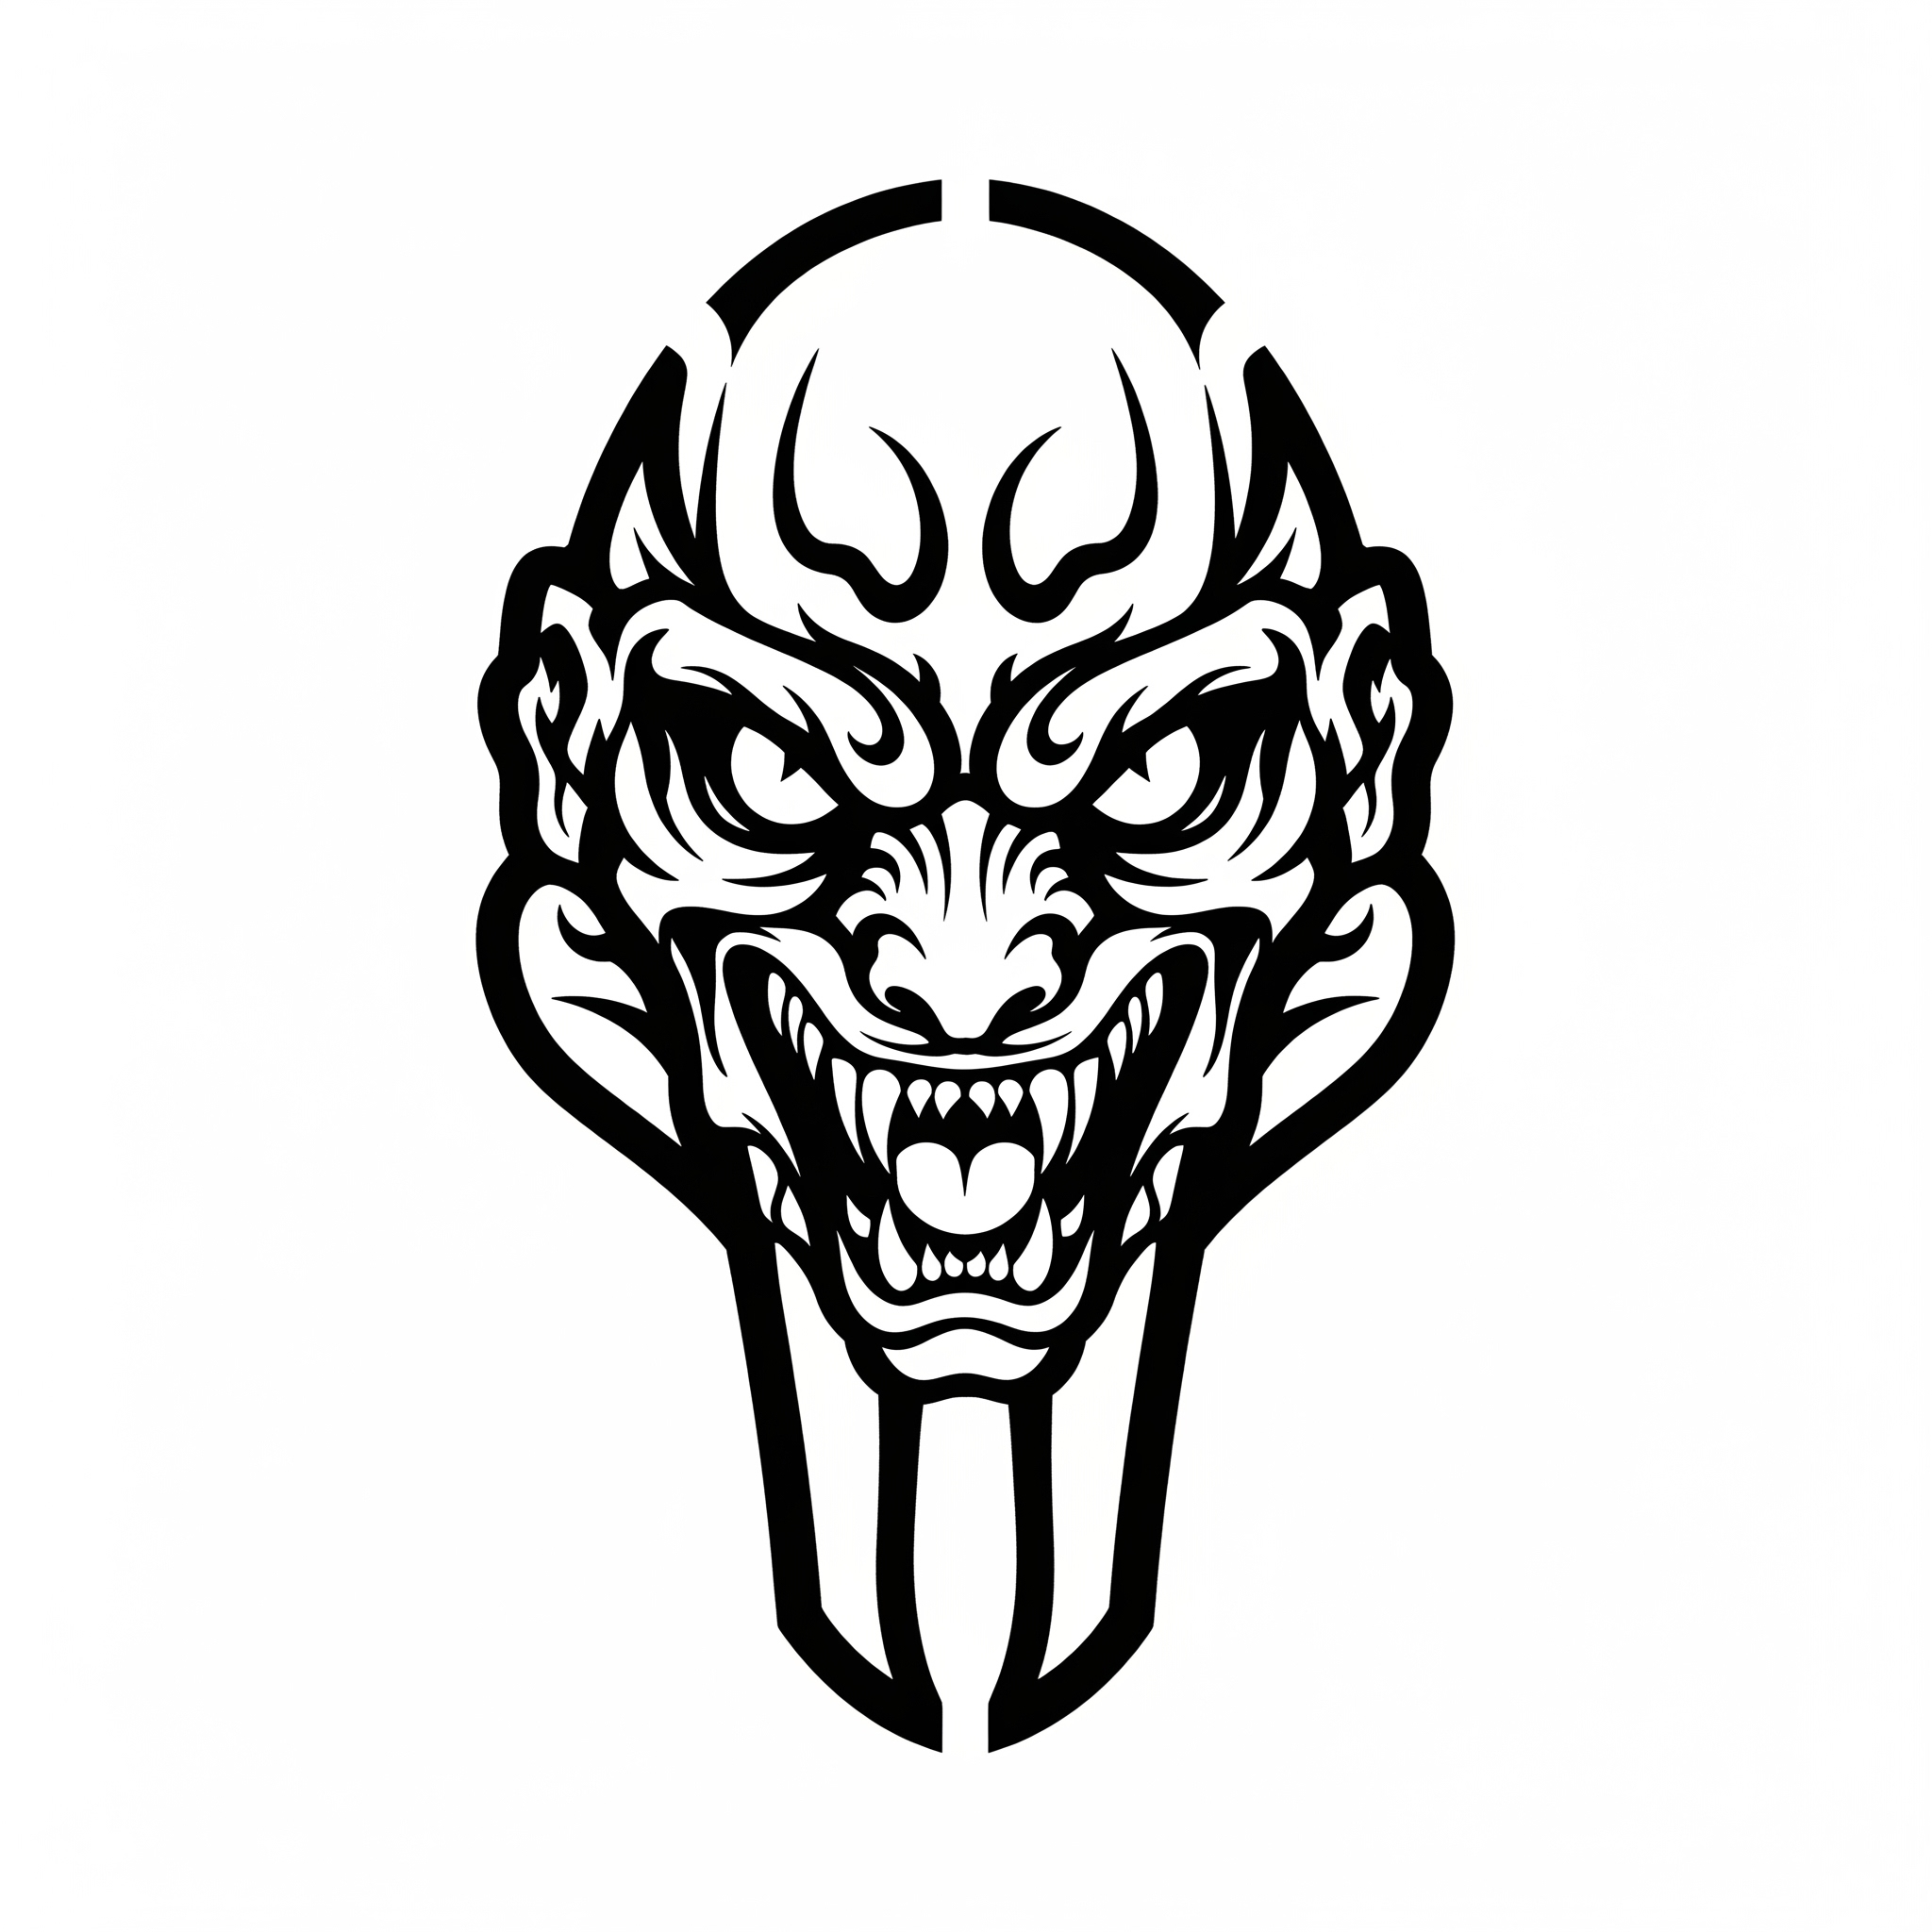
Choosing the Right Style
Pick among styles like realism, traditional, tribal, or watercolor to match the vibe. Realism suits portraits and lifelike scenes while traditional thrives on bold lines and bright colors. Tribal leans into geometric patterns and cultural significance. Watercolor delivers fluid brushstroke effects but demands expert technique. Match style with personality and consider longevity since faded detail ruins mood.
Considering Placement and Size
Decide placement based on visibility, pain tolerance, and lifestyle impact. Forearms show off daily while ribs hide secrets. Small tattoos suit wrists or behind ears but lose detail if oversized. Large back or chest pieces offer canvas freedom but demand several sessions. Measure area and test stencil for visual balance before inking. Placement shapes interaction between art and anatomy, so plan thoroughly.
Creating the Initial Sketch
The initial sketch sets the foundation for any tattoo masterpiece. We dive into the essential techniques that breathe life into simple lines and shapes.
Basic Drawing Techniques for Tattoo Design
Start with light pencil strokes to map out the primary shapes. Use layering to build depth instead of pressing hard on the paper. Apply cross-hatching and stippling to experiment with shading effects that mimic tattoo ink nuances. Emphasize clean, confident lines because shaky ones translate poorly into needles. Observe tattoo flash art and realistic sketches to identify the balance between boldness and detail essential for skin.
Refining Your Sketch
Focus on clarity by eliminating unnecessary lines and enhancing defining edges. Trace over your rough draft with fine liner pens to solidify key features. Adjust proportions and symmetry digitally or manually, depending on preference. Show the sketch to others or use a stencil overlay for placement testing. Iterate until the design resonates visually and conceptually because every tattoo expression demands perfection in its blueprint.
Tips for Designing Tattoos That Work on Skin
Choose bold outlines; thin lines lose impact with time due to skin stretching. Incorporate high-contrast shading to maintain vibrancy and ensure details survive healing. Consider skin tone influence—darker skin tones benefit from brighter inks and simplified imagery. Plan for size appropriateness; tiny intricate designs risk blurring, while overly large art might feel overwhelming. Design with body contours in mind, as flat paper fails to replicate the curves and movements of human anatomy.
Preparing the Design for Transfer
Getting our tattoo design from paper to skin requires sharp precision and thoughtful adjustments. This stage ensures the art doesn’t rebel once it hits our bodies.
Digitizing Your Sketch
Start by scanning the sketch at 300 dpi or higher to capture every rebellious pencil mark. Use photo editing software to clean smudges and sharpen lines. Convert the image to black and white, emphasizing bold contrasts for clarity. Resize the digital file according to the tattoo’s final dimensions with slight room for placement adjustments. Save the file in a lossless format like PNG for crispness. Our digital copy now stands ready to start its skin invasion.
Adjusting for Skin Curvature and Placement
Recognize skin’s funny tendency to curve, stretch, and occasionally wrinkle like a stubborn old map. Before finalizing, manipulate the design digitally or print it on transfer paper to test on the exact body location. Make subtle distortions to align with muscles, bone structure, and skin folds. For example:
| Body Area | Adjustment Example |
|---|---|
| Forearm | Slight stretch lengthwise |
| Shoulder | Curve edges to match roundness |
| Ribcage | Compress design horizontally |
This tailoring prevents designs from warping post-healing and keeps our art looking proud, not squashed.
Creating the Tattoo Stencil
Print the adjusted design onto special thermal or hectograph transfer paper to produce a crisp stencil. Trace over bold lines for maximum ink guidance. Use stencil transfer gel to apply the design politely but firmly onto the skin, allowing it to dry before starting the tattoo machine’s symphony. This stencil acts as our trusty map preventing any directional mutiny during the tattoo session.
Skin Preparation Before Tattooing
Get the skin ready like a canvas prepped for a masterpiece. Proper preparation ensures the design adheres perfectly and the tattooing runs smoothly.
Cleaning and Shaving the Area
Begin by thoroughly cleaning the tattoo site with an antiseptic solution. Dirt oils or dead skin cells create a barrier that risks infection or bad ink adhesion. Next shave the area carefully with a new disposable razor to remove hair. Hair traps bacteria and distorts stencil application. Make sure the skin is dry and free of cuts or irritation before moving on. Shaving close but gently prevents razor bumps that scream “ouch.”
Applying the Stencil Correctly
Apply the stencil in a single smooth motion to avoid smudging. Position the stencil exactly where the design belongs thinking about placement and body contours. Press firmly but don’t rub the stencil side to allow the transfer solution to bond with the skin. Wait at least 60 seconds to let the stencil dry fully. Avoid touching the stencil or sweating as it may blur the lines. A crisp stencil lines up tattoo precision and keeps the artist happy—and your future self thankful.
Tattooing Process: From Design to Skin
The moment arrives when our masterpiece steps off the paper and meets the skin. Let’s break down every vital move that turns a sketch into permanent art.
Setting Up Your Workspace
First step: transform our area into a sterile, organized haven. Arrange tattoo machine, needles, inks, gloves, and disinfectants within arm’s reach. Use disposable barriers on surfaces to avoid unwanted cross-contamination drama. Bright lighting guides our artistry; poor light turns details into a guessing game. Maintain ergonomic posture to dodge body fatigue because we’re in this for detail not a chiropractor. A tidy workspace reduces stress and risks—plus it earns respect points from the skeptic client eyeing the setup.
Outlining Techniques
Sharp, crisp outlines serve as tattoo skeletons. Use the smallest needle grouping for clean lines—usually single or three round liners. Start slow and steady, holding the skin taut with one hand and confidently gliding the needle with the other. Avoid overworking spots which leads to blowouts, sludge of ink under skin we do not want. Draw in smooth, connected motions; shaky lines on paper translate to fuzzy regrets on skin. Focus on consistent depth to control ink spread—a shallow stab risks fading; a deep jab causes scarring. Remember, outlines frame the story so they earn our finest focus.
Shading and Coloring Methods
Blend tones like a paintbrush maestro but with precision equipment. Use magnum or flat needles to shade large areas; smaller round shaders perfect for gradients and details. Adjust machine speed and hand pressure to control ink density—soft fades demand light passes, saturated fills require patiently layering color. Place shadows strategically to accentuate curves and muscle tone, enhancing the three-dimensional illusion. Choose inks compatible with skin tone to keep hues vibrant through time; reds bleed faster on pale skin, dark blacks hold on everyone. Swirl, dot, and whip shading techniques add texture variety making the tattoo pop like a 3D movie.
Aftercare During the Tattooing Session
Hydration for the skin brings resilience; apply sterile water or ointment lightly between passes to soothe irritation and aid ink absorption. Use a clean paper towel or gauze to gently blot excess ink and blood keeping the area visible and clean. Communicate with the client—adjust pressure or take breaks if discomfort rises, sleepless needles suck for motivation. Cover newly tattooed sections briefly with plastic wrap to protect fresh ink when pausing or switching areas. A smooth ride during the session lays groundwork for effortless healing later on.
Aftercare and Healing
Mastering the art of tattooing finishes only when the ink meets the skin. Proper aftercare transforms that fresh masterpiece into a lifelong treasure and keeps healing hiccups at bay.
Caring for Your New Tattoo
Follow these steps for happy skin and lasting color:
- Cleanse gently using lukewarm water and unscented mild soap twice daily; avoid scrubbing so we don’t irritate the fresh ink.
- Pat dry with a clean towel or let air dry because rubbing risks pulling scabs off prematurely.
- Apply a thin layer of fragrance-free moisturizer or tattoo-specific ointment about 2–3 times daily to lock in moisture and prevent cracking.
- Wear loose clothing over the tattooed area to avoid friction and allow air circulation.
- Avoid soaking in pools, hot tubs, or baths for at least two weeks to prevent bacterial intrusion.
Following this straightforward routine preserves our ink’s vibrancy while easing the skin’s hardworking healing process.
Common Healing Issues and How to Avoid Them
Prevent these usual suspects to keep tattoos happy and healthy:
| Healing Issue | Symptoms | How to Avoid |
|---|---|---|
| Infection | Redness, swelling, pus, pain | Stick to sterile cleaning, hands-off policy, and avoid soaking in dirty water |
| Excessive Scabbing | Thick, hard scabs | Moisturize regularly and resist the urge to pick or scratch |
| Allergic Reaction | Rash, itching, blisters | Use hypoallergenic products and consult professionals for sensitive skin |
| Ink Fading | Dull or patchy colors | Avoid direct sun exposure and use sunscreen once healing is complete |
| Blowout | Blurred or spreading ink | Choose experienced artists and ensure proper needle depth |
Staying vigilant with these tips helps our tattoo defy common healing pitfalls and flourish as intended.
Troubleshooting Common Tattoo Design Issues
Every tattoo journey encounters hiccups. Let’s tackle key troubles and keep ink adventures on track.
Fixing Design Placement Mistakes
Misplaced tattoos cause regret faster than a bad haircut. Begin by assessing tattoo visibility and body movement impact. If a design crowds a joint or flex zone, adjust size or shift placement slightly away from creases. Use temporary transfer paper to preview corrected positions before committing. Sometimes resizing smaller prevents distortion on curves like shoulders or calves. When covering old tattoos, opt for bolder, denser designs to mask previous outlines effectively. Remember, proper alignment enhances aesthetics and comfort during healing. If needed, consulting a fresh perspective helps refine placement decisively.
Correcting Sketch to Skin Color Differences
Ink colors rarely appear identical on paper and skin because skin tone and undertones alter pigment perception. Start by selecting inks with higher contrast or complementary hues relative to individual skin tones—cool blues pop on warm skin while warm reds shine against cooler tones. Test small color patches on hidden skin areas before finalizing palettes. Use shading techniques in the sketch that anticipate fading; bolder outlines and gradual color layering counteract color washout over time. Adjust brightness and saturation digitally during stencil preparation if original sketches look too muted or overly vibrant compared to expectations on skin.
Alternative Methods for Tattoo Design
Exploring different approaches to tattoo design adds flexibility and fun to the process. Alternative methods help preview ideas and avoid regret ink later.
Temporary Tattoos and Transfer Papers
Temporary tattoos offer quick previews of designs without any commitment. We apply decals or use transfer paper to replicate the tattoo on skin, testing size and placement. Transfer papers work well for stencil accuracy before the permanent inking session. Using these methods, we assess how a design moves and reacts with skin texture, preventing surprises once tattooed.
Digital Simulations and 3D Previews
Digital tools create realistic previews of tattoos on virtual skin models. We upload our sketches into apps that simulate color, shading, and placement from multiple angles. 3D previews reveal how tattoos interact with body curves and muscles, offering insights traditional sketches miss. Adopting digital simulations streamlines design decisions and minimizes tattooing mishaps with a high-tech crystal ball effect.
Conclusion
Getting a tattoo is like signing up for a lifelong art show on your skin—no refunds, no returns. But with the right mix of creativity, preparation, and a dash of patience, that sketch can turn into a masterpiece you’ll proudly wear.
We’ve learned that it’s not just about the needle buzzing away; it’s about thoughtful design, careful placement, and yes, a little bit of magic to make sure it looks amazing years down the road.
So whether you’re a first-timer or a seasoned ink enthusiast, remember: every great tattoo starts with a great sketch—and maybe a few laughs along the way. Now, who’s ready to make some skin art history?
Frequently Asked Questions
What is the initial step in creating a tattoo design?
The initial step is sketching the tattoo idea using light pencil strokes, layering, and shading to build the foundation of the design before refining it for clarity and detail.
What materials are essential for tattoo design and application?
Essential materials include sketching tools (pencils, charcoal), tattoo machines, needles, inks, safety supplies like gloves and disinfectants, and transfer papers for stencil creation.
How do you choose the right tattoo style?
Choose a style that matches your personality and aesthetic preferences, considering styles like realism, tribal, traditional, or watercolor, and think about how it will age over time.
Why is placement important for a tattoo?
Placement affects visibility, pain tolerance, and lifestyle. Proper planning ensures the tattoo complements the body’s contours and remains harmonious as you move.
How is a tattoo transferred from paper to skin?
The design is scanned, digitized, adjusted for size and skin curvature, then printed onto special transfer paper to create a stencil applied directly to the skin.
What are the key steps in skin preparation before tattooing?
Clean the tattoo area with antiseptic, shave with a new disposable razor, then carefully apply and dry the stencil to ensure a clean, precise transfer.
What should be considered during the tattooing process?
Maintain a sterile workspace, use sharp outlines and proper needle depth, apply strategic shading, and keep communication open for client comfort and safety.
How should you care for a new tattoo after the session?
Clean gently, moisturize regularly, avoid friction and sun exposure, and monitor for signs of infection or irritation to promote proper healing.
What common problems can occur during tattoo healing?
Issues include infection, excessive scabbing, allergic reactions, ink fading, and blowouts, which can often be prevented with proper aftercare.
How can tattoo design mistakes be fixed?
Reassess placement considering visibility and movement, use temporary transfers to test adjustments, and choose inks with better contrast to correct color issues.
What are temporary tattoos and digital simulations used for?
They allow you to preview tattoo designs on your skin without commitment, helping test size, placement, and appearance before the permanent tattooing.