Watercolor tattoos are like the rebellious artists of the tattoo world—they splash color outside the lines and somehow make it look amazing. If you’ve ever thought about getting inked but feared looking like a walking coloring book, these designs might just change your mind. They’re vibrant, unique, and have that “I woke up like this” effortless charm.
Materials and Tools Needed for Watercolor Tattoos
Creating the perfect watercolor tattoo splashes depends on specific gear. Gathering the right materials avoids watery messes and keeps colors popping like a summer sunset.
Essential Tattoo Equipment
- Tattoo machine: rotary or coil machines deliver consistent lines and shades.
- Needles: round liners, shaders, and magnums handle detail and washes.
- Power supply: adjustable unit maintains steady voltage during sessions.
- Clip cord and foot pedal: control the machine hands-free like pros.
- Stencil paper and transfer solution: imprint outlines flawlessly.
- Sterile gloves and barriers: prevent any unwanted ink smudges on fingers or tables.
- Disposable ink caps and cups: hold custom-mixed watercolor inks ready for use.
Special Inks and Colors for Watercolor Effects
- Diluted pigments: translucent inks mimic watercolor washes effectively.
- Vibrant hues: bright reds greens blues and yellows unfold the characteristic splash.
- Custom mixes: blend shades like artists blending paints on palettes.
- Water-based inks: ensure smooth application and quicker skin absorption.
- UV-reactive inks: add an electric pop visible under blacklight for extra flair.
Skin Preparation and Aftercare Products
- Antibacterial soap: cleans skin thoroughly without dryness.
- Razor and exfoliant: smooth surface provides better ink adherence.
- Tattoo primer: preps skin like canvas before art begins.
- Healing ointment: supports skin recovery reducing irritation and scabbing.
- Moisturizers with natural ingredients: maintain hydration without clogging pores.
- Sunscreen: protects fresh watercolor tattoos from fading under harsh UV rays.
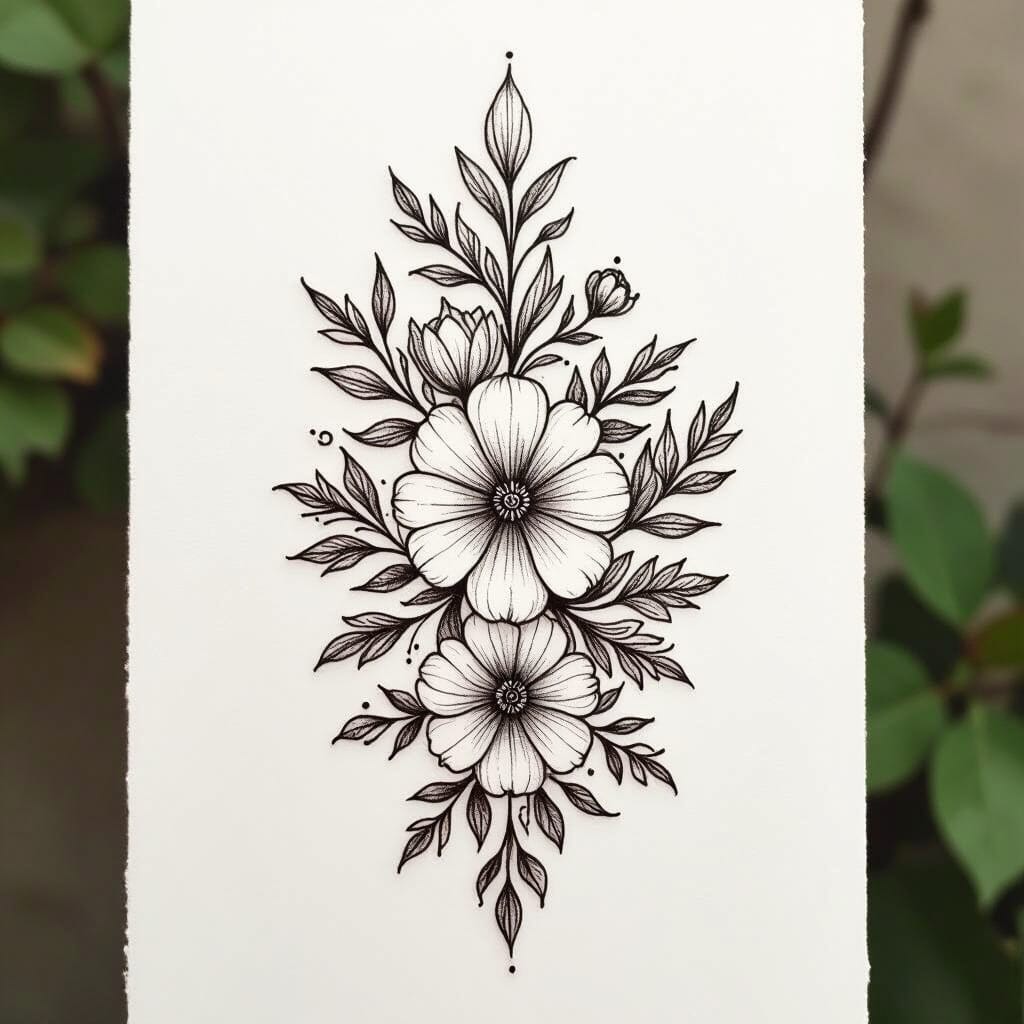
Choosing the Right Watercolor Tattoo Design
Selecting a watercolor tattoo design calls for creativity balanced with personal expression. Let’s dive into popular themes and tips to customize your splash of art.
Popular Watercolor Tattoo Themes
Nature reigns supreme with flowers, trees, and animals. Examples include roses exploding with reds and pinks, hummingbirds flitting through blues and greens, or koi fish shimmering with oranges and yellows. Abstract designs present freeform splashes and brush strokes that mimic real watercolor paintings. Watercolor portraits capture faces with soft blending instead of sharp lines, adding emotional depth. Finally, geometric shapes combined with watercolor effects offer a modern twist with sharp edges meeting color floods.
How to Personalize Your Design
Incorporate meaningful elements like initials, favorite quotes, or special dates inside watercolor splashes. Choose colors that evoke your personality or symbolic associations such as blue for calm or red for passion. Play with blending multiple themes — a floral mandala or a city skyline dripping with color. Share your story with your tattoo artist; they translate your ideas into unique watercolor narratives that fit your vibe.
Size and Placement Considerations
Smaller designs suit areas like wrists, ankles, or behind ears where subtle color bursts add charm without overwhelming. Larger canvases like shoulders, backs, or thighs allow full use of watercolor’s flowing nature creating dramatic, eye-catching statements. Keep in mind skin texture and curvature; smooth flatter areas hold detailed watercolor effects better. Weigh visibility against professional or lifestyle needs; some colors fade faster under constant sun exposure, affecting placement choices.
Techniques for Creating Watercolor Tattoo Designs
Mastering watercolor tattoo techniques enhances the vibrant splash and fluidity these designs demand. Each method crafts a distinct look and guarantees our watercolor tattoos stand apart from the classic ink brigade.
Blending Colors Smoothly
Blending colors smoothly starts with layering diluted inks to mimic watercolor paint washes. We apply light shades first then gradually overlay richer pigments while the skin remains damp, enabling seamless transitions. Using circular needle motions replicates brush strokes, while blending adjacent hues forms gradients. Patchy or muddy results emerge when inks sit too long on dry skin, so timing is everything.
Creating Drips and Splotches
Creating drips and splotches requires controlled ink pooling and strategic needle pauses to replicate natural watercolor bleeds. We introduce denser pigment drops deliberately then tilt the skin or adjust pressure to guide the spread. Randomness is key but planning splotch placement prevents chaotic messes. Layering translucent colors over drips adds depth and realism.
Using Negative Space Effectively
Using negative space effectively turns untouched skin into part of the artwork. We carve shapes within the color floods or leave outlines empty to contrast vivid washes. This technique produces crisp elements resembling paper untouched by paint. Balancing inked and blank areas ensures designs don’t descend into muddy blobs but maintain that signature airy watercolor vibe.
Incorporating Traditional Tattoo Elements
Incorporating traditional tattoo elements anchors our watery escapades with bold black lines or classic motifs. We integrate fine outlines or stippling to frame or define abstract watercolor fields. This hybrid keeps tattoos readable from afar and provides visual anchors. Combining old-school tattoos’ clarity with watercolor’s softness merges two worlds without clashing palettes.
Step-by-Step Guide to Designing Your Watercolor Tattoo
Designing a watercolor tattoo taps into creativity and precision, blending fluid colors with striking details. Let’s dive into each step that brings your vibrant vision to life.
Brainstorming and Sketching Ideas
Start by gathering your favorite themes, such as florals, animals, or abstract splashes. List elements that resonate personally, like symbols or colors that shout “you.” Sketch quick thumbnails to experiment with shapes and compositions. Focus on loose, flowing lines to mimic watercolor paint strokes. Repeat sketches to mix and match ideas until the concept dazzles without drowning in detail.
Digitizing Your Design
Scan or photograph your best sketch in high resolution to capture every splash and stroke. Use software like Adobe Illustrator or Procreate to trace and clean lines while preserving the watercolor blur. Layer colors with varying transparency to replicate washes and bleeds. Save your design in multiple formats (PNG, SVG) for easy sharing and tweaking. Remember, clean digital files make your tattoo artist’s job 10 times easier—and less messy.
Collaborating with a Tattoo Artist
Choose a tattoo artist experienced in watercolor styles by reviewing their portfolios for color vibrancy and fluidity. Share your digitized design and describe which parts should pop or fade like real watercolors. Stay open to their practical tweaks—skin plays by different rules than paper. Schedule a consultation to discuss placement, size, and aftercare tips. Teamwork here turns your dreamy swirls into a wearable masterpiece without turning you into a walking paint palette clown.
Tips for Maintaining Watercolor Tattoos
Maintaining watercolor tattoos demands a bit of care to keep those dreamy, splashy colors vibrant rather than resembling a soggy paper towel. Here is how we handle it like pros.
Protecting Your Tattoo from Fading
Sun acts like a frenemy, loving to fade watercolor tattoos faster than we love coffee. Use broad-spectrum sunscreen with SPF 30 or higher every single day on the tattooed area if it’s exposed. Keep tattoos covered under loose clothing during prolonged outdoor adventures. Avoid tanning beds entirely unless we want our colors to take a permanent vacation.
Proper Skin Care Routine Post-Tattoo
Clean the tattoo gently with mild, antibacterial soap and lukewarm water two to three times daily. Pat dry with a soft towel; no rubbing allowed unless we’re going for that “scratched cat” look. Apply a thin layer of fragrance-free healing ointment or moisturizer recommended by the tattoo artist at least thrice daily, avoiding over-application, which suffocates the skin. Resist the urge to pick scabs or scratch, no matter how artistic the peel might seem. Keep the skin hydrated and clean for at least two weeks to prevent dullness and infection.
When to Schedule Touch-Ups
Watercolor tattoos favor gentleness but can lose vibrancy in places prone to friction or sun exposure within 6 to 12 months. Schedule touch-ups once fading becomes visible or if colors blur beyond recognition. Early touch-ups make refreshing easier and keep the colors looking like a masterpiece instead of a spilled paint palette. Regular check-ins with our artist ensure our tattoo stays as fresh and splashy as day one.
Common Issues With Watercolor Tattoos and How to Avoid Them
Watercolor tattoos charm with their splashy, ethereal look but come with challenges that can turn our masterpiece into a muddy mess. Understanding common issues helps us keep those bright colors popping and fine lines sharp.
Fading and Blurring Solutions
Fading happens because watercolor tattoos rely on delicate shading and diluted inks that absorb differently than solid traditional colors. Blurring occurs when colors spread beyond intended boundaries over time. Wearing broad-spectrum sunscreen daily blocks UV rays which break down pigments fastest. Avoid extended sunbathing or tanning beds or risk watching your art become a sad watercolor ghost. Choosing smaller designs on less flexible skin patches minimizes ink migration that causes blurring. Scheduling touch-ups every 6 to 12 months refreshes vibrancy and line crispness. Patience and persistence in aftercare keep our watercolor magic alive.
Risks of Allergic Reactions
Allergic reactions surface if tattoo inks contain irritants or if we have sensitive skin prone to inflammation. Red and yellow pigments often trigger the most flare-ups. Performing a patch test with the planned inks at least one week before the full tattoo identifies potential allergy problems early. Using inks from reputable suppliers certified free of heavy metals minimizes risk. After getting inked, applying recommended healing ointments and refraining from scratching prevents infections that can worsen reactions. Listening to our skin closely prevents turning a colorful dream into a nightmare of itching and redness.
Selecting Reputable Artists
Watercolor techniques demand skill beyond just sticking color on skin. Picking an artist specializing in watercolor tattoos guarantees experience with ink dilution, layering, and line work needed to preserve that fragile look. Reviewing portfolios for consistent quality and happy client reviews or asking for references reveals the pros from the pretenders. Confirming hygienic practices like sterile needles and clean studios keeps infections out of the picture. Consulting with the artist about design ideas ensures our watercolor visions don’t become Photoshop fails. Trusting experts nurtures stunning skin art that resists the test of time and wandering tattoo trends.
Alternative Methods for Achieving Watercolor Effects
Exploring alternative ways to achieve watercolor effects expands our creative toolkit beyond permanent ink. These methods let us experiment freely without the lifelong commitment.
Temporary Watercolor Tattoo Ideas
Utilizing temporary watercolor tattoos offers a playful canvas for testing designs. Applying water-activated tattoo papers with vibrant pigments allows us to mimic the fluid appearance of real watercolor tattoos. Using skin-safe markers or body paints, we replicate blending and layering techniques to create soft gradients. Trying multiple designs on different body parts helps us discover which styles and colors resonate best before committing. Wearing temporary tattoos at events showcases our artistic flair without the sting of a needle.
Using Stencils vs. Freehand Techniques
Employing stencils provides precise outlines that support consistent replication of intricate watercolor patterns. Using stencils limits errors and speeds up the process, especially when working with complex botanical or geometric designs. Relying on freehand techniques encourages spontaneity and organic flow, capturing the unpredictable essence of watercolor splashes. Trusting our instincts while freehanding leverages natural brushstroke variations and color drips that stencils cannot reproduce. Combining both methods balances control and creativity, enhancing the final watercolor tattoo effect.
Conclusion
Watercolor tattoos are like the rebellious artists of the ink world—they don’t stay inside the lines and definitely know how to make a splash. Whether you’re a first-timer or a seasoned tattoo lover, these designs offer a playful way to wear your personality on your skin without taking things too seriously.
So go ahead, let your imagination run wild with colors that blend like a dream and designs that feel more like a breezy watercolor painting than a traditional tattoo. After all, life’s too short for boring ink!
Frequently Asked Questions
What are watercolor tattoos?
Watercolor tattoos are vibrant, artistic designs that mimic watercolor painting by splashing colors outside traditional lines for a fluid, unique look.
Are watercolor tattoos suitable for first-time tattoo seekers?
Yes, their creative and effortless charm makes them appealing to those hesitant about traditional tattoos.
What materials are essential for creating watercolor tattoos?
Key materials include tattoo machines, needles, power supplies, specially formulated inks, antibacterial soap, healing ointments, and sunscreen.
How do I choose the right watercolor tattoo design?
Pick themes that resonate personally, like nature or abstract art, and consider incorporating meaningful colors and elements.
What factors affect the size and placement of my watercolor tattoo?
Consider your skin texture, lifestyle, and visibility preferences; smaller tattoos suit subtle areas, larger pieces make bold statements.
What techniques are used to create watercolor tattoo effects?
Techniques include layering diluted inks, blending colors smoothly, adding drips and splotches, using negative space, and bold black lines for definition.
How do I design a watercolor tattoo?
Start with loose sketches, digitize the design for clarity, then collaborate with an experienced tattoo artist to finalize the look.
How can I maintain the vibrancy of my watercolor tattoo?
Use broad-spectrum sunscreen, keep the skin moisturized, avoid picking scabs, and schedule touch-ups every 6 to 12 months.
What common problems occur with watercolor tattoos?
Fading, blurring, and allergic reactions are common issues; these can be minimized with proper care, patch testing, and choosing skilled tattoo artists.
Are there alternatives to permanent watercolor tattoos?
Yes, temporary tattoos using water-activated papers or skin-safe paints allow experimentation without long-term commitment.
Should I opt for stencil or freehand techniques?
Both have benefits; stencils provide precision, while freehand encourages organic flow. Combining both can enhance the tattoo’s final appearance.