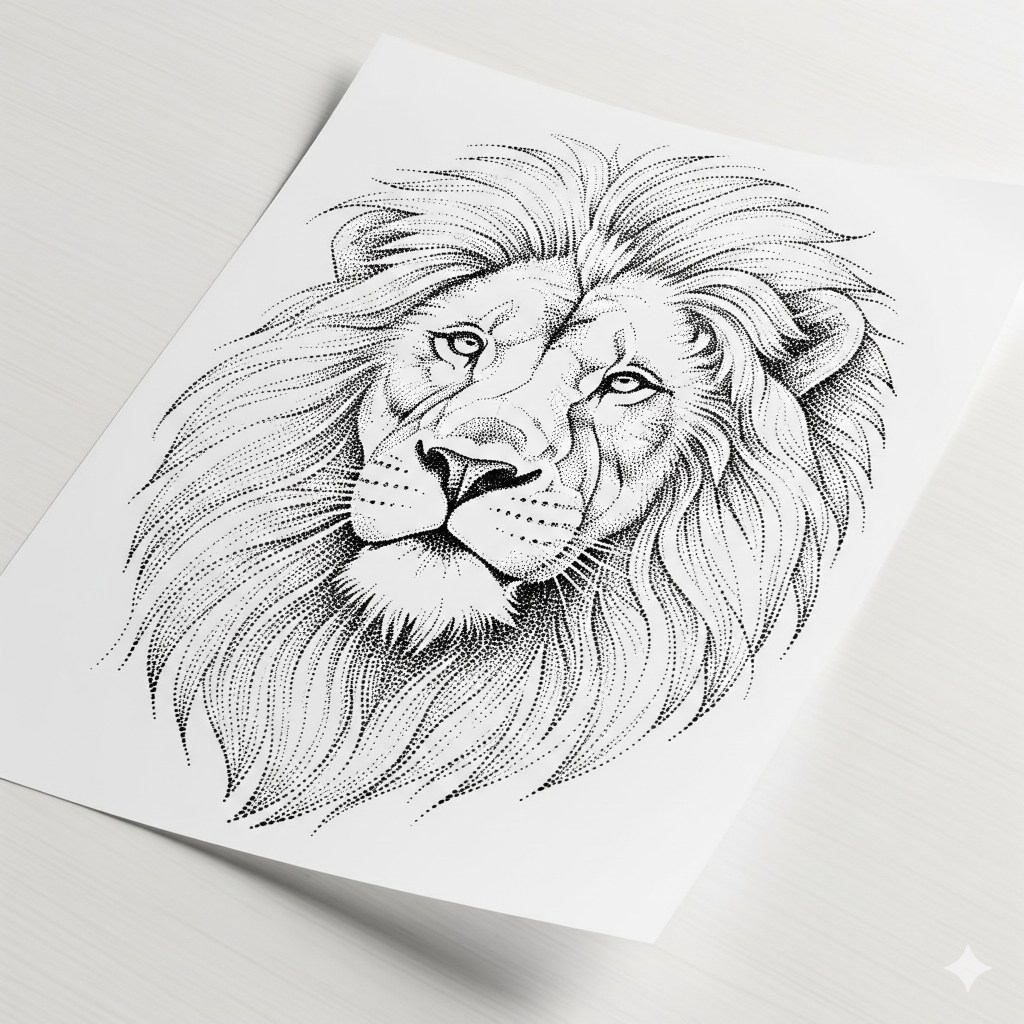
When it comes to tattoos, sometimes less really is more—especially when those tiny dots come together to create something mesmerizing. Dotwork tattoo design mandalas are like the ultimate zen doodles for your skin. They’re intricate, hypnotic, and just the right amount of fancy without screaming for attention.
Materials and Tools Needed for Dotwork Tattoo Design Mandalas
Getting dotwork tattoo design mandalas right requires precision tools and materials. We line up our essentials to make each dot count without missing a beat.
Essential Tattooing Equipment
We grab a reliable tattoo machine, power supply, and foot pedal that won’t throw tantrums mid-session. Clean titanium or stainless steel grips and tubes provide control and comfort. Don’t forget disposable gloves and barrier films to keep everything hygienic and drama-free.
Recommended Needles for Dotwork
We pick single needles or tight configurations like 3RL or 5RL for crisp, clean dots. Round liners work best because flat shaders turn dots into smudgy blobs faster than you can say “mandala.” Consistency counts when repeating thousands of tiny dots.
Ink Selection for Dotwork Tattoos
We settle on rich black inks from brands like Intenze or Eternal that hold pigment well and won’t fade into ghost dots. Diluted inks create gradients and shading in mandalas but keep the ratio exactly to avoid unintended ink puddles.
Additional Supplies and Setup
We stock up on sterile razors, green soap, distilled water, and paper towels to keep the skin soft and ink awake. A comfortable adjustable chair plus bright, shadow-free lighting make spotting every dot easier than finding Waldo. Our workstation stays organized because chaos is the enemy of precision.
Preparing for Your Dotwork Mandala Tattoo
Taking thoughtful steps before the needle hits the skin makes all the difference in dotwork mandala tattoos. Our approach balances art and precision without breaking a sweat.
Designing Your Mandala
First, create mandalas that blend symmetry and uniqueness. Use geometric software or sketch by hand to ensure each dot aligns perfectly. Include 3 to 5 concentric circles or layers for depth and complexity. Incorporate patterns like lotus petals, stars, or spirals to add character. Test designs on paper or digital templates because practice polishes perfection.
Choosing the Right Placement on the Body
Second, select placement that complements your daily moves and skin texture. Areas like forearms, shoulders, or calves offer broad flat surfaces for crisp dotwork clarity. Inner wrists or ankles suit smaller designs but remember these spots may sting more. Avoid overly bony or stretch-prone zones to keep dots tight and consistent. Visualize wear patterns since dotwork fades unevenly on rough or sun-exposed skin.
Preparing the Skin for Tattooing
Third, prepare skin with care to support dot precision and healing. Shave the area gently using sterile razors to prevent irritation or bumps. Wash thoroughly with antibacterial soap to eliminate oils that repel ink. Dry skin completely or blot with sterile gauze before applying stencil. Consider applying a thin layer of petroleum jelly to reduce friction during the session. Hydrated skin accepts ink better whereas dry skin throws a tantrum (results in patchy dots).
Step-by-Step Process for Creating Dotwork Tattoo Design Mandalas
Creating dotwork mandalas requires patience and precision. Let’s break down each stage to craft those mesmerizing patterns that make minimalism a masterpiece.
Outlining the Mandala
Start by sketching the mandala’s basic structure using fine lines or a faint stencil. Use geometric tools or software to ensure symmetry while keeping room for personal flair in the design elements. Draw concentric circles and radial lines to map the key points for dot placement. Precision here saves frustration later, so take your time—it’s not a race, it’s a zen journey.
Mastering the Dotwork Technique
Load the tattoo machine with a single needle or tightly grouped configuration to create uniform dots. Hold the machine steady and tap the skin lightly to place dots evenly, avoiding any blotches. Gradually build layers of dots rather than pressing hard all at once. We find that slow and steady dot placement beats speed every time for that crisp, clean aesthetic.
Shading and Adding Depth with Dots
Apply denser dots where shadows or depth are needed by spacing dots closer together in those regions. Use lighter dot density to create highlights by increasing distance between dots. Alternate the dot sizes subtly to add dimension. Be patient because shading unfolds dot by dot, like a slow-mo magic show on skin.
Finishing Touches and Detailing
Review the mandala for consistency and balance after the main dotwork is in place. Fill in any sparse spots with extra dots or delicate lines. Clean edges enhance clarity, so sharpen the outer rings or radial lines carefully. Finally, clean the area, apply ointment, and prepare the client for aftercare to keep every dot looking fabulous long after the needle retires.
Tips for Perfecting Dotwork Mandala Tattoos
Mastering dotwork mandala tattoos demands patience precision and a keen eye for detail. Below our best strategies for flawless results.
Maintaining Consistent Dot Spacing
Consistent dot spacing creates the hypnotic rhythm essential for mandalas. Use a steady hand and visualize an invisible grid if needed. Start slow and measure distances mentally between dots for uniformity. Avoid rushing because uneven spacing sabotages symmetry faster than a distracted tattoo artist during lunch break.
Managing Needle Pressure and Speed
Managing needle pressure and speed controls dot crispness and depth. Apply light predictable pressure to produce clean dots without bleeding. Move the needle uniformly at a moderate speed because too fast causes faint dots while too slow creates blotches. Practice on synthetic skin if hands tremble more than a caffeine addict waiting for espresso.
Creating Symmetry in Mandalas
Creating symmetry in mandalas involves strategic planning and keen observation. Use stencils or grid templates to align elements precisely. Compare opposing sides frequently and adjust immediately instead of hoping “it’s close enough.” Consistent dot spacing and equal segment divisions reinforce symmetry better than freehand attempts after three cups of coffee.
Alternative Dotwork Techniques
Alternative dotwork techniques expand creative boundaries. Experiment with stippling using varied needle sizes or layering dots for textured gradients. Incorporate negative space strategically to highlight patterns or emphasize details. Try combining dotwork with fine lines or geometric shapes for a modern twist without losing mandala magic. Always test new styles on practice skin before your client becomes a human canvas crash test dummy.
Aftercare for Dotwork Mandala Tattoos
Proper Aftercare for Dotwork Mandala Tattoos ensures those intricate dots stay sharp and that our skin stays happy. Let’s dive into the essentials that keep the zen alive long after the needle stops buzzing.
Immediate Post-Tattoo Care
Apply a thin layer of fragrance-free healing ointment within the first two hours post-tattoo to protect the skin without suffocating it. Keep the tattoo covered with sterile non-stick bandages for at least 4 hours but no longer than 24 hours to prevent infection. Clean the tattoo gently twice daily using lukewarm water and mild, unscented soap; avoid scrubbing or soaking. Pat dry with a clean towel—never rub, unless you want your mandala to look like a modern art experiment. Moisturize regularly with a recommended unscented lotion to prevent flaking but avoid over-moisturizing, which could drown those fine dots.
Long-Term Maintenance Tips
Wear loose breathable clothing over the tattooed area for the first week to dodge irritation. Protect the tattoo from direct sunlight by using a broad-spectrum SPF 30+ sunscreen once healed; UV rays fade the crispness of dotwork designs faster than our patience during waiting rooms. Hydrate skin daily with a light, unscented moisturizer to maintain elasticity and vibrancy. Avoid soaking the tattoo in pools, hot tubs, or baths for at least two weeks to prevent pigment loss and infection. Schedule follow-ups with our artist for touch-ups if dot density starts looking more like a dotted mess.
Avoiding Common Healing Issues
Ignore itching and pickiness—scratch nicks dots off faster than a toddler stealing candy. Skip tight clothing and abrasive fabrics that rub the tattoo, causing scabbing and patchy healing. Resist the urge to peel flakes; natural shedding protects healing skin. Watch for signs of infection like redness beyond the tattoo border, excessive swelling, or oozing pus; consult a healthcare provider if those drama queens show up. If any allergic reactions to ointments occur—such as rash or prolonged redness—switch products immediately and inform the tattoo artist.
Troubleshooting Common Issues in Dotwork Mandala Tattoos
Even the most precise dotwork mandalas encounter hiccups. Tackling common issues like uneven dots, ink bleeding, or design flaws keeps our sacred circles looking sharp.
Fixing Uneven Dot Patterns
Uneven dot patterns ruin the hypnotic flow of mandalas. We keep dot sizes uniform by calibrating needle depth carefully while maintaining consistent hand speed. When dots cluster or spread too far, slowing down helps regain control. If unevenness sneaks in after the fact, light touch-ups with a single needle fill gaps or soften overly dense areas without disrupting symmetry.
Handling Ink Bleeding and Smudging
Ink bleeding turns crisp dots into blotchy blobs—a nightmare in dotwork. We prevent this by choosing high-quality, thick black inks and avoiding over-saturation. Applying gentle pressure reduces needle trauma that causes bleeding. If smudging occurs, waiting for full healing before attempting corrections prevents further damage. In mild cases, subtle dot layering over healed blurred spots restores definition without overworking the skin.
Correcting Design Irregularities
Design irregularities break the mandala’s meditative symmetry. We start by mapping irregular sections using light stencil marks or faint shading guides. Fixing uneven lines or misplaced dots requires patience and tiny incremental adjustments. If a segment appears off-balance, balancing it with mirrored dots or shapes elsewhere maintains harmony. Avoid drastic changes—subtle tweaks keep the design zen rather than frantic.
Conclusion
Dotwork mandalas are like the zen masters of tattoo art—calm, precise, and totally mesmerizing. They demand patience and a steady hand, but the results? Pure magic etched in ink.
Whether you’re a tattoo artist or just a fan of intricate designs, embracing the dotwork technique opens up a world where tiny dots create big impact. And hey, if your dots aren’t perfect at first, don’t sweat it—we’ve all been there.
So, grab your gear, channel your inner perfectionist, and get ready to make some seriously hypnotic art. Your skin (and your future self) will thank you.
Frequently Asked Questions
What makes dotwork mandala tattoos unique?
Dotwork mandala tattoos stand out due to their intricate patterns made entirely of tiny dots. This technique creates a mesmerizing, zen-like aesthetic that combines elegance with minimalism.
What tools are essential for creating dotwork mandalas?
Key tools include a reliable tattoo machine, single needles or tight needle groupings for precision dots, high-quality black inks, clean grips, disposable gloves, sterile razors, and proper lighting for a clean workspace.
How should I prepare my skin before getting a dotwork mandala tattoo?
Preparation involves gently shaving the tattoo area, cleaning and hydrating the skin to ensure smooth ink application and optimal healing.
What is the step-by-step process for dotwork mandala tattoos?
Start by outlining the mandala using fine lines or stencils for symmetry. Use a single needle to create uniform dots slowly, then add shading by varying dot size and spacing. Finish by checking for clarity and consistency.
How can I maintain my dotwork mandala tattoo after getting it?
Apply fragrance-free healing ointment, keep the tattoo covered initially, clean gently, wear loose clothing, avoid sun exposure, and refrain from soaking the tattoo to preserve sharpness and skin health.
What are common issues in dotwork tattoos and how can they be fixed?
Issues like uneven dots or ink bleeding can be fixed by adjusting needle depth and speed, careful ink choice, and touch-ups. Design flaws can be corrected with subtle modifications to maintain symmetry.
Can I customize my dotwork mandala tattoo design?
Yes, customizing your design using geometric software or hand sketches helps achieve balance and uniqueness while selecting a suitable body placement ensures comfort and clarity.
What techniques are used to add depth in dotwork mandalas?
Depth is achieved by varying dot density and size, allowing for shading effects that give the mandala a three-dimensional, textured look.
How important is symmetry in dotwork mandala tattoos?
Symmetry is essential as it maintains the meditative and hypnotic nature of mandalas, requiring careful planning and precise execution.
Are there alternative dotwork techniques available?
Yes, alternatives include stippling, layering, and using negative space creatively to enhance the design while preserving the mandala’s core aesthetic.